

|
General discussion regarding the techniques and methods used to successfully grow tomato plants in containers.
|
 |
|
|
Thread Tools | Display Modes |
|
|
#1 |
|
Tomatovillian™
Join Date: Apr 2007
Location: Campbell, CA
Posts: 4,064
|
While I really like the productivity of my EarthBoxes, the plant supporting solutions have been a challenge. I have discovered that the pea/cucumber fences from both Gurneys and Burpee can be wrapped perfectly around the EarthBox and I employ the weight of the EarthBox to keep the cage rigidly in-place.
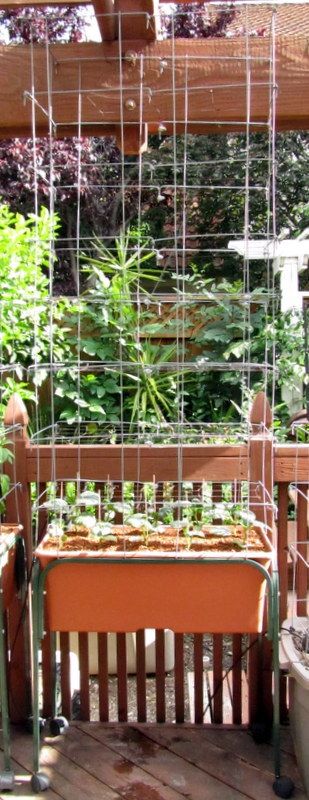 The 14" panels of the cage align perfectly with the EarthBox outer dimensons (14" by 28"). First, stand the opened cage on a flat surface. You will see 2 or 3 of the legs will be about 1/4" longer than the others due to their manufacturing process. Mark those legs with a piece of tape. Using the 2 cage bending tools shown in the EarthTainer Construction guide, make a 90 degree bend inward 3/4" down from the tip of the leg. On the remaining shorter legs mark and make the bend at 1/2": 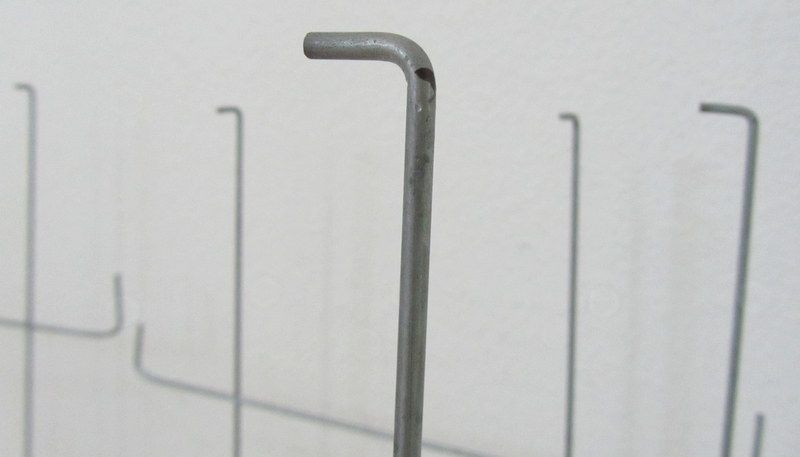 This is what the finished cage will look like: 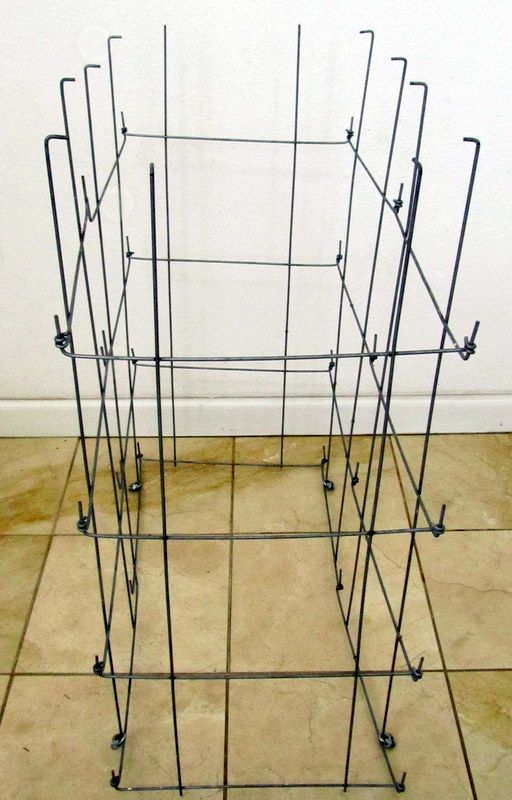 Lift the EarthBox corners (a wood spacer works fine) and wrap the cage inserting the "feet" between the EarthBox and the metal stand: 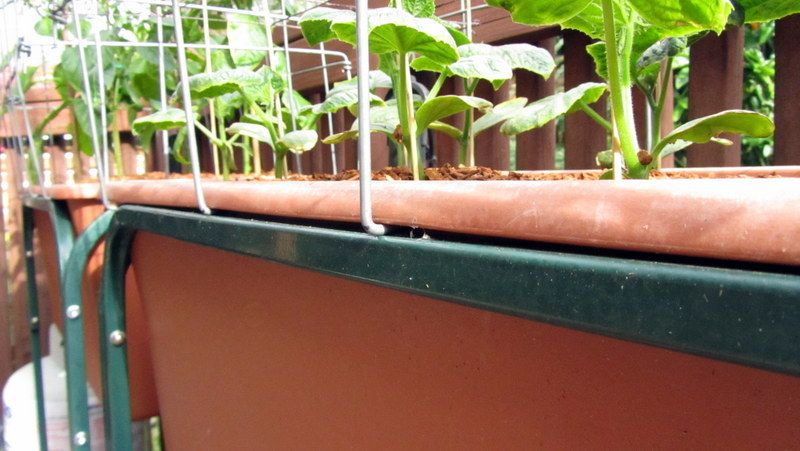 (If you are not using the factory stand, you can fashion a cradle insert cut out of plywood or similar support structure, supported about 12" off the ground). The mass of the loaded EarthBox will provide plenty of compression to grip the cage in place. For taller plants (cukes, etc) add an extension cage on to the base cage attaching with wire rope clips: 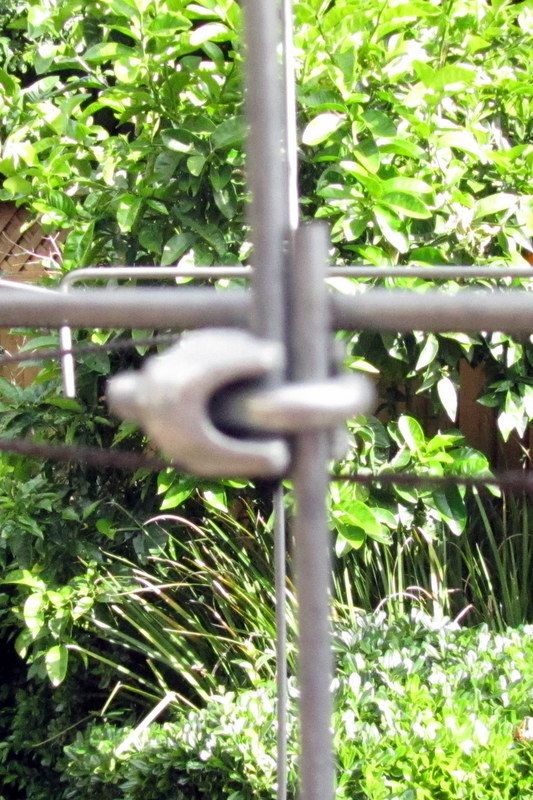 When using the extension cage, I would recommend securing the system to an anchor pole to keep it stable in high winds. So there you go.. either a 32" or 64" cage system without too much bending, welding, etc. 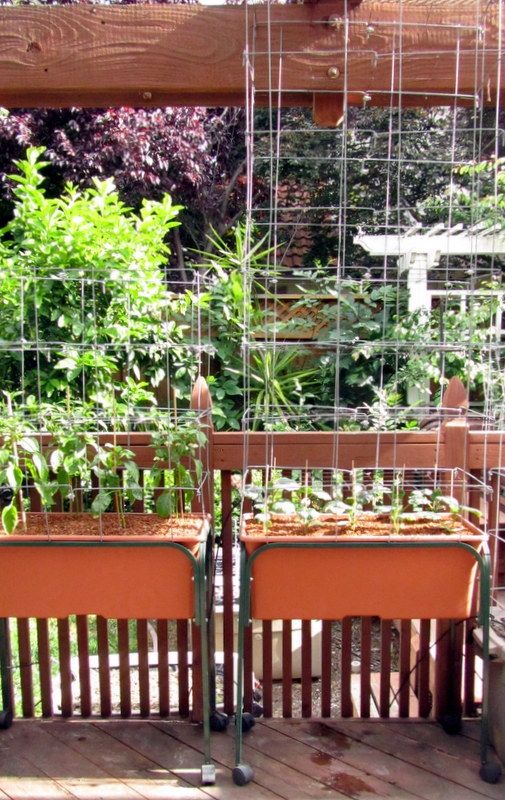 Afterwards, use either 3.5" or 7" mesh netting to form vertical growing "channels" within each cage: 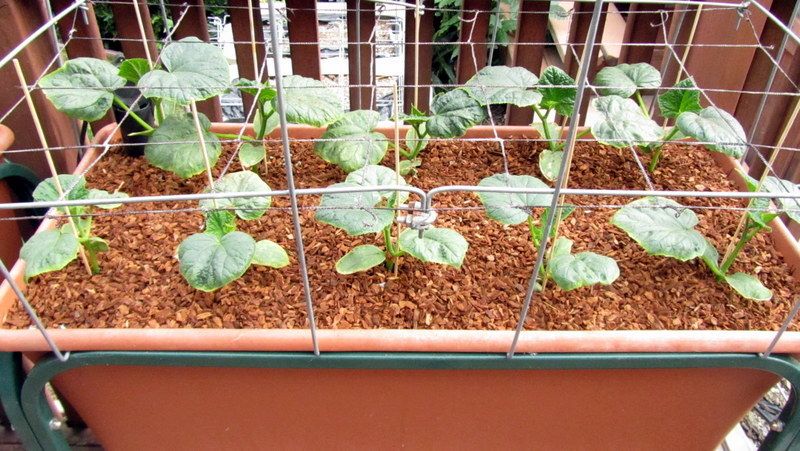 Have fun!! Raybo 
Last edited by rnewste; May 22, 2015 at 01:23 AM. |
|
|

|
 |
|
|
