

|
Have a great invention to help with gardening? Are you the self-reliant type that prefers Building It Yourself vs. buying it? Share and discuss your ideas and projects with other members.
|
 |
|
|
Thread Tools | Display Modes |
|
|
|
|
#1 |
|
Tomatovillian™
Join Date: Jan 2018
Location: Philly 7A
Posts: 739
|
February 1st, 2016 Asparagus bed In an effort to grow more greens without more hassle, I looked into Perennial Vegetables and was extremely happy to see that Asparagus was a Perennial Vegetable. Asparagus is one of my favorite green veggies for cooking, followed closely by Broccoli.But the problem was, where the hell would I plant asparagus? I literally have no room. I think I may have found a place that gets good-OK sun, it is directly in front of my AC unit, it's tight, but with a little construction, I think I can get a decent bed of 10 plants. It Is a small area, maybe 3' x 4.25' (12.75 sq.') I have always disliked this part of the yard, between the slope of the hill, the AC, the trashcan, the neighbors hemlock hedge, the area that nothing will grow in and the Bradford Pear roots tearing everything up I just hate it. I plan on fixing this up somewhat, clean out the roots, put in a raised bed next to the Asparagus bed and install pavers in place of my spray painted (GHETTO) roof tile. With a plan in mind, I ordered 10 Jersey Knight Asparagus crowns in January from American Meadows. The Asparagus crowns are shipping the week of April 4th, so I do have plenty of time but want to get this knocked out ASAP. From what I have researched these are supposed to be an all male variety and will produce more and last longer than their female counterparts. The weather may be half decent this weekend so I'm gonna try to get my son outside away from Black Ops 3 and jump on building the bed. OK, I'm going to need a 2"x10" x 12', some deck screws, and loamy soil...whatever that is! I also picked up two 5/4" x 8' decking planks, I decided at the last minute to cap it, figured since its gonna be a permanent bed, I might as well dress it up a bit. Dam I'm gonna need more 2"x12", oh well back to the store, picked up another 2"x12" but an 8 footer, dam again, it was supposed to be a 2"x10" not a 2"x12", oh well, I'll use it to my advantage.
Next, I trimmed the 4x4 on the walkway with a sawzall. Then I dug out about a foot of soil.
|
|
|

|
|
|
#2 |
|
Tomatovillian™
Join Date: Jan 2018
Location: Philly 7A
Posts: 739
|
Raised Bed Back Hill #2 March 3rd, 2016
Earlier in the week I picked up some 2x10's, 2x4's and hardware for the raised bed and dug out around the old raised bed, I got home late and only had about a half an hour of light so I didn't get much done. Doing a bit of digging I was actually pretty impressed with the soil. Since the weather forecast is for snow until Saturday sometime, I left work an hour earlier today to try and knock out this Raised bed, I figured the extra hour would be just enough time to knock out one of the raised beds. The weather complied, it wasn't too cold if I kept moving.
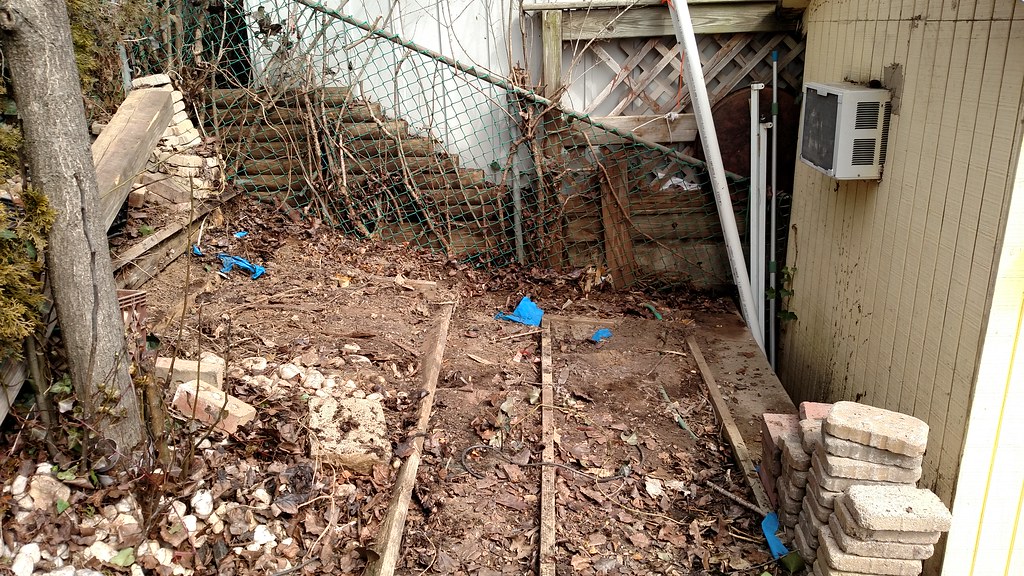
It's not done yet, there's a few more tweaks that this bed will get, I am working on copper corners that I will cut from 3" pipe, anneal and peen , then the cap will be trimmed with Copper tape to keep slugs out and finally it will be stained in the fall after it has weathered a bit. March 5th-6th, 2016 - This weekend was nice, and when I say nice I'm referring to it being dry not necessarily warm. I decided to tackle the other raised bed since the other came out so well. I knew this was going to be a nightmare, I have amassed so much stuff in this corner that it took on a life of it's own, so I just decided to jump right in. This is where I stored all my Pit wood, along with some pool supplies, river rock, extra pavers, extra cap stones from the retaining wall, bricks, extra lumber from the Koi Pond build, Tarps, pond supplies and a whole bunch of other $hit I don't need.
|
|
|

|
|
|
#3 |
|
Tomatovillian™
Join Date: Jan 2018
Location: Philly 7A
Posts: 739
|
Raised Bed Back Hill #3 March 9th-13th, 2016
I still have a few things to do on the hill, amend the soil, install the composter, cut out a few roots, level the ground behind the beds for a path, stack the pavers and a few other things I plan on keeping. March 12th-13th, 2016 - This was a productive weekend, I wanted to get the beds done before the rain, that was forecast for Sunday. I removed some roots from the tree to make a walking path behind the beds, spent near three hours on this...saved all the worms I found and tossed them in the beds. 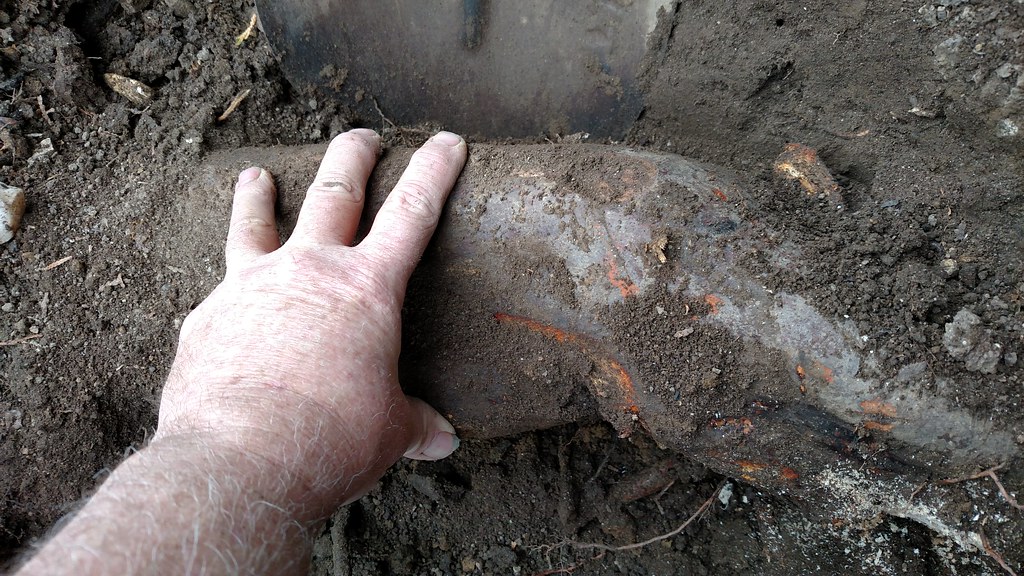
I really don't know whats up with this composted manure, the three piles further away in the picture are from Home Depot and the one closest me is from Lowes. Here are the following specs;
The home depot bag definitely has more volume, by like 20% but not sure which is of better quality, they are the same exact bag other than the weight/volume that it is sold by. Stained |
|
|

|
|
|
#4 |
|
Tomatovillian™
Join Date: Jan 2018
Location: Philly 7A
Posts: 739
|
Raised Bed #4 Hugelkultur Bed April 2nd, 2016
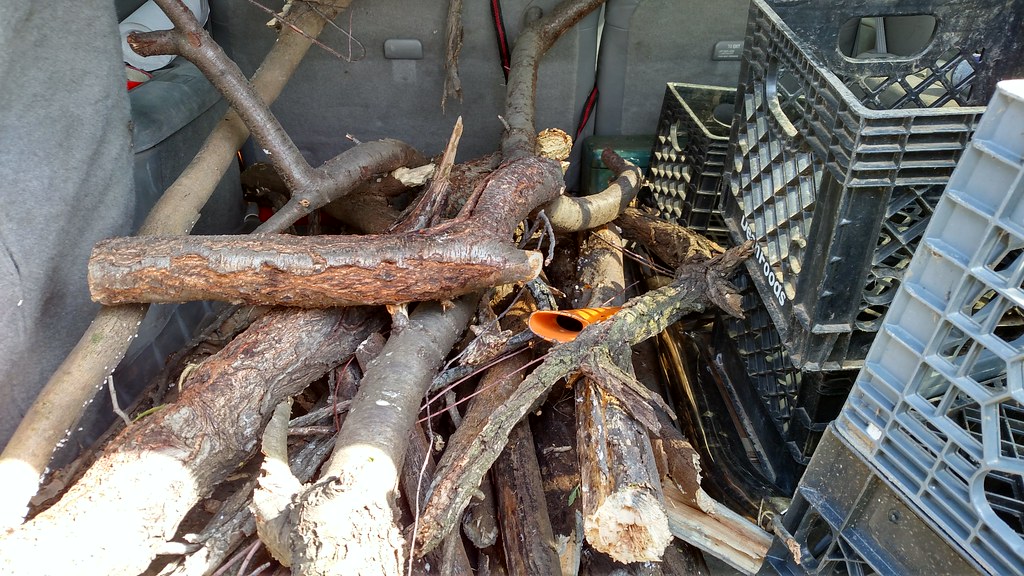
OK... Time to start this nightmare, Like I said before when building Bed #1, the Asparagus bed, I hate this part of the yard, it has never looked good and the Bradford Pear tree tore it up pretty good. Working around the stump and roots is gonna be a nightmare especially factoring in the close proximity to the fence. Last year I tossed in this pallet fence to keep the dogs out and try to grow some beans...FAIL! This bed will be a Hugelkultur bed, I have researched this form of gardening and was quite impressed, so I figured I would give it a shot. I have plenty of wood from the Bradford Pear tree to fill it with, (Crotch wood, roots, stuff I can't easily split for firewood). Ray next door wants his shrubs out, so my goal is to get this built, add my logs, cut Rays shrubs back a bit, trim the evergreens and toss everything in the bed. The build will be similar to Raised bed #2 and #3, but three (10") boards high. The yard slopes a good bit here so the bed will be approximately 30" at the low end and 18" at the high end.
This project is proven to be a total nightmare. Working around the stump is impossible the roots are embedded with rocks so after frying my chainsaw blade on rock embedded roots, I switched to a Sawzall then an axe, it was impossible to get a swing on the axe. The roots were so abundant that I had to irrigate the soil away with a hose but after I got down so far I hit Green/Gray clay. The clay was so hard that I had to chip it away with a hammer and screwdriver. I finally got through one root that was over 12" thick...REALLY, A DAM FOOT!!!. I am pretty persistent but finally gave up on my original plan to dig behind the stump for the 2x10's and went another route. Anyhow, after building one frame I decided to put this section in place, level and secure, the next piece was a three sided section that slid in underneath, everything was leveled (somewhat) and secured. What a dam mess! Of course my wife lets out the, "two stupid dogs" and they decide to run through the mud and jump on me to show me how much they love me!
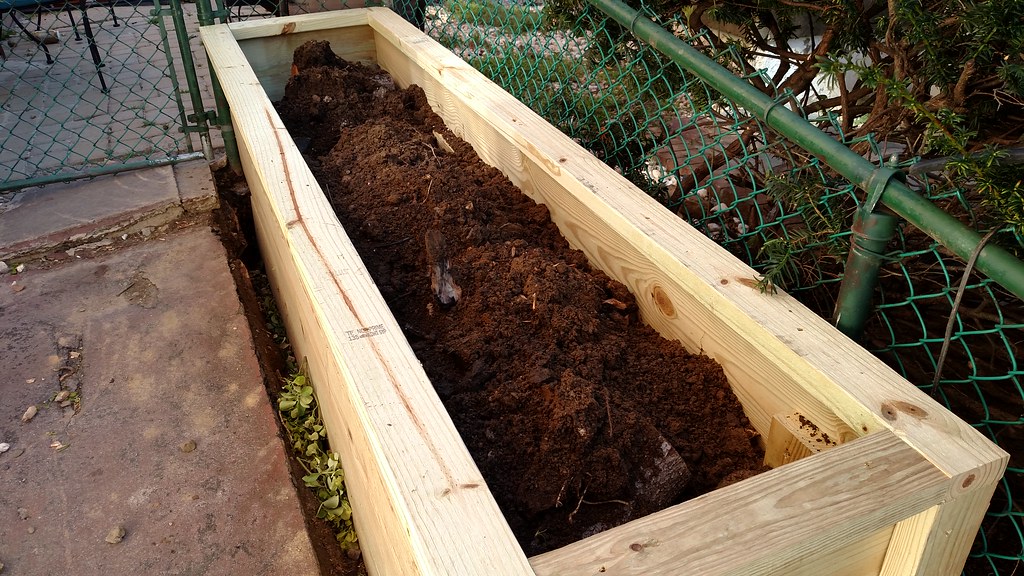
April 12th - I spent several hours trying to get this root out, I even tried irrigating the soil away to get under it and only made a mess. This thing is just SICK! 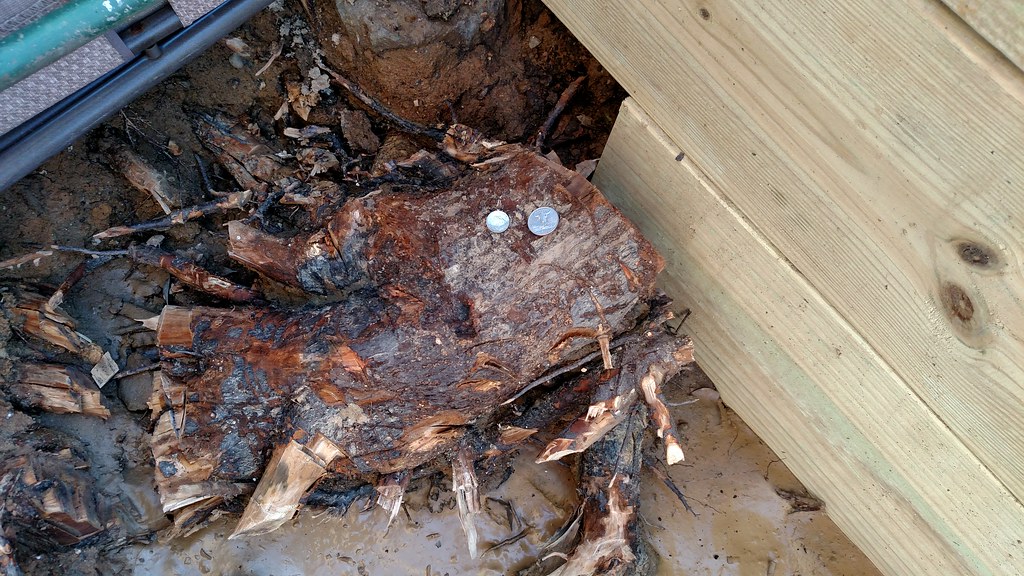 April 13th - I finally gave up and removed as much as possible with a 12" sawzall blade. I wanted to remove the whole root and back-fill because the pavers will sink when the root rots, I figured it would be less effort to lift the pavers, back-fill with paver stone and replace the pavers in 5 years or so. Early on in this article I said, "The hardest part about building these beds has been removing the River Rock and the cleanup", BOY WAS I WRONG! The Bradford Pear stump and roots are kicking my ★★★. After dealing with this stump and the roots, I decided to remove the two Bradford Pear Trees on the back hill before they get too big... I'm getting too old for this $hit! 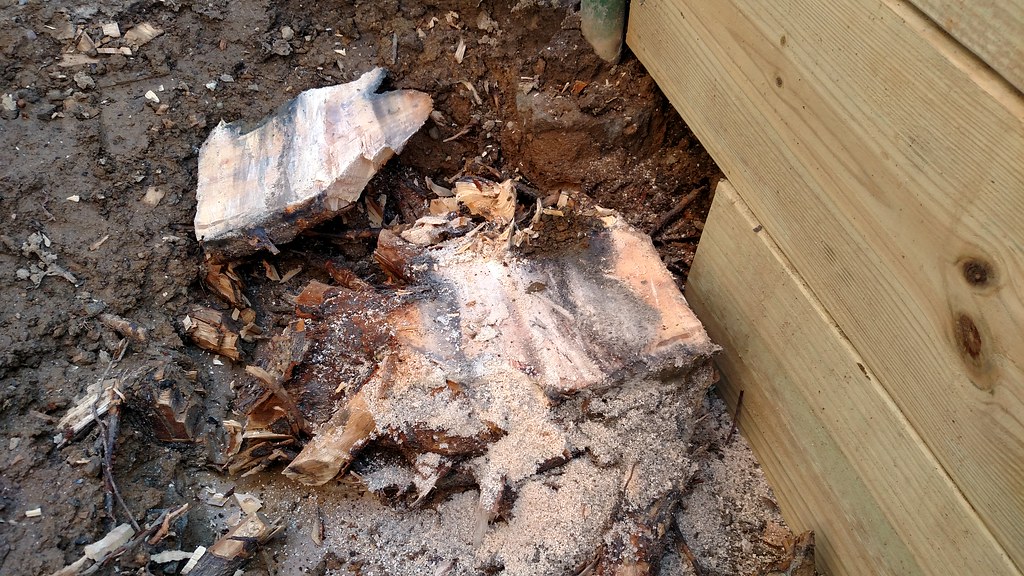
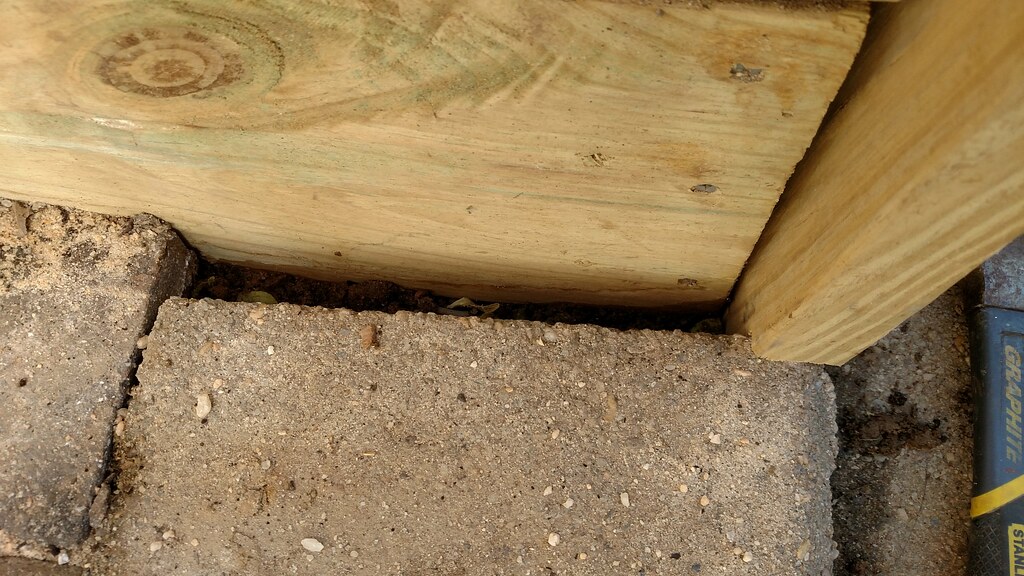
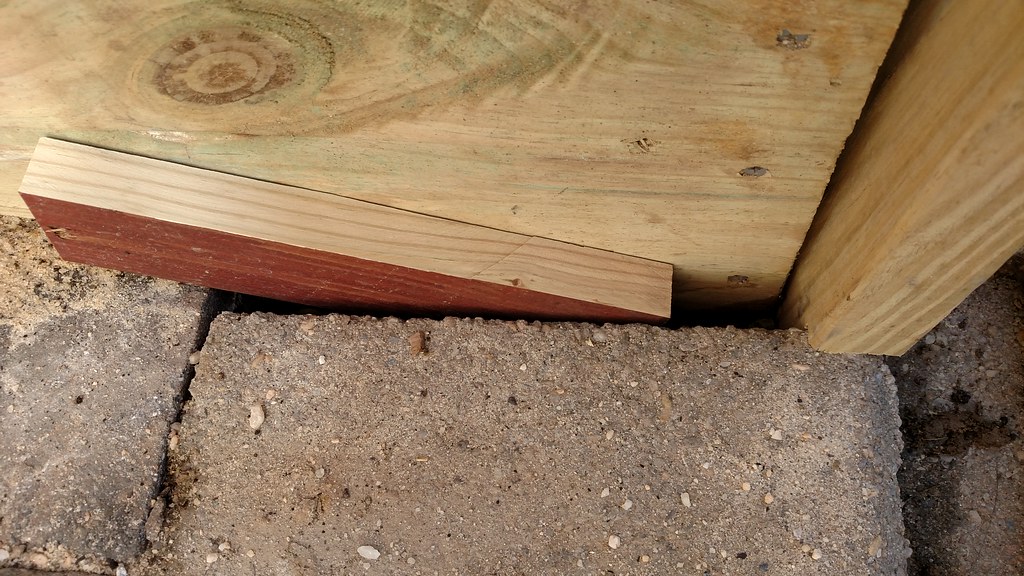
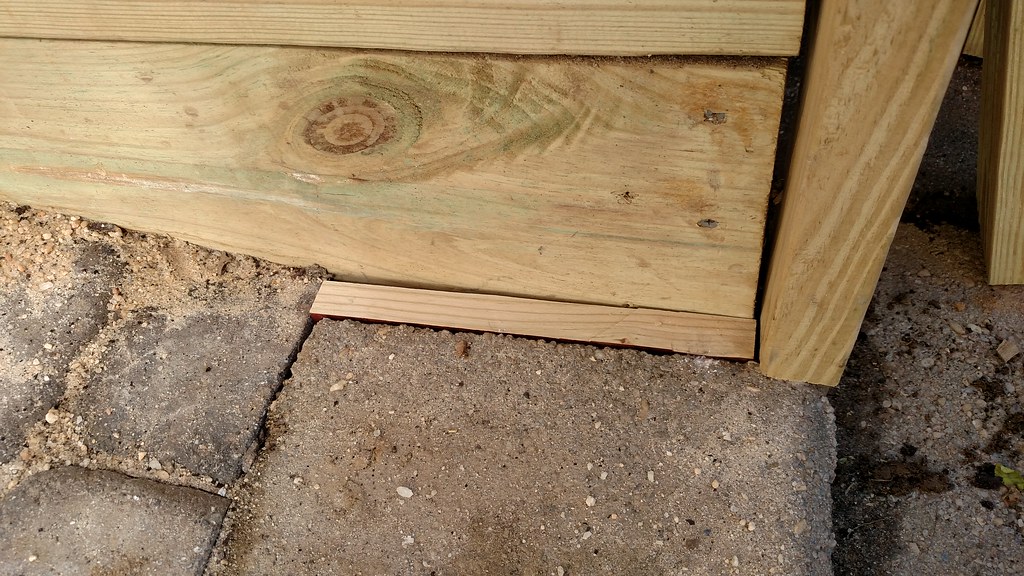
April 14th - Final touches, adding the side pieces and irrigation.
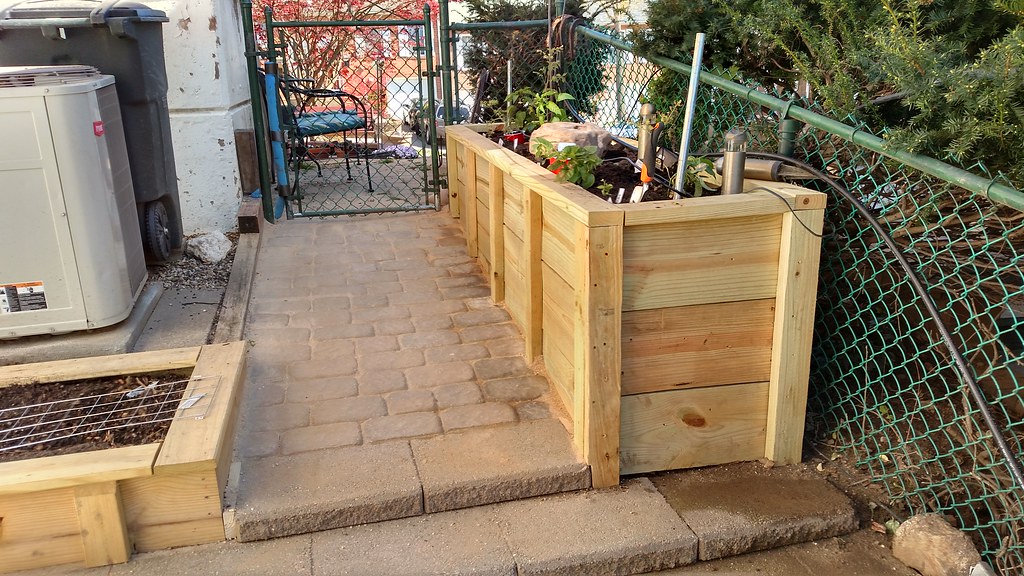
April 26th, 2016 - Last night I was going through all of my landscape lighting supplies to find some lighting for the new bed, I came across 4 railing lights that I decided to use, I ran some wire and connectors today. April 27th, 2016 - Last night I installed 4 railing lights and two Bolo lights, I have a 21 watt incandescent bulb in one socket and 3 led's in the other fixtures to see how they looked at night. I did not like the LED's but really like the glow of the incandescent but its 21 watts, that would be 84 watts on the transformer that's too much. If I used the current LED's, it would be 4 watts but I don't care for them. I ordered some 0.48W LED's to try, that would be less than 2 watts, I also ordered some 11 watt incandescent, I can live with an additional 44 watts on the transformer if need be. The Bolos had 20 watt bulbs and were replaced with 3 watt luxeon LED's. March 1st, 2016 I installed the new LED'S last night and I am extremely impressed, I am so impressed that I ordered twenty more bulbs and 6 more Railing lights for the other Hugelkultur bed. @ 0.48 watts, you cant beat it, these will replace my 7 watt deck lights and 21 watt front yard landscape lights.
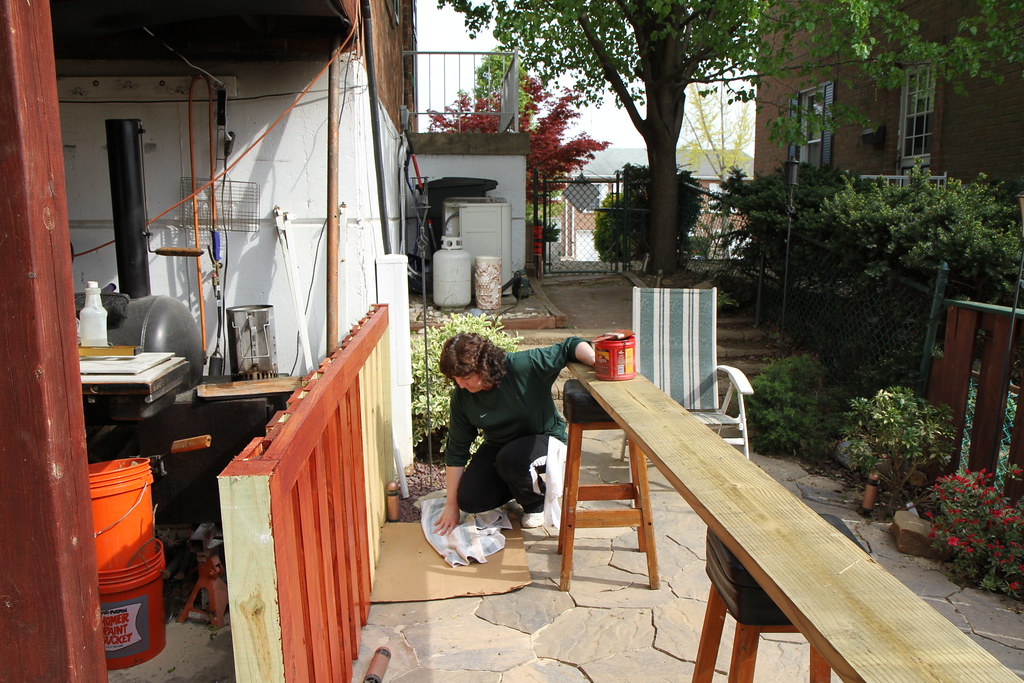 September 17th, 2016
Much nicer! |
|
|

|
|
|
#5 |
|
Tomatovillian™
Join Date: Jan 2018
Location: Philly 7A
Posts: 739
|
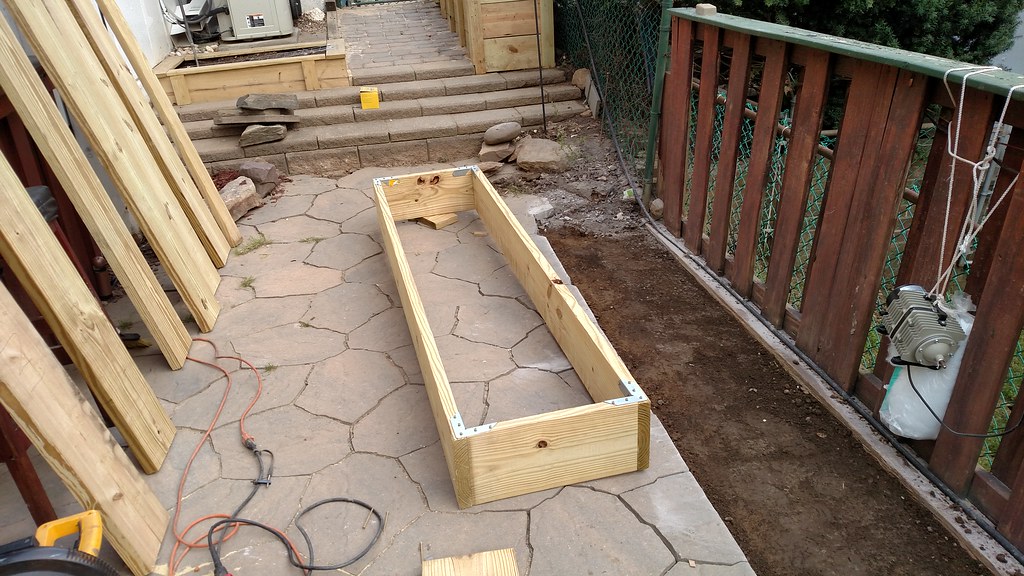
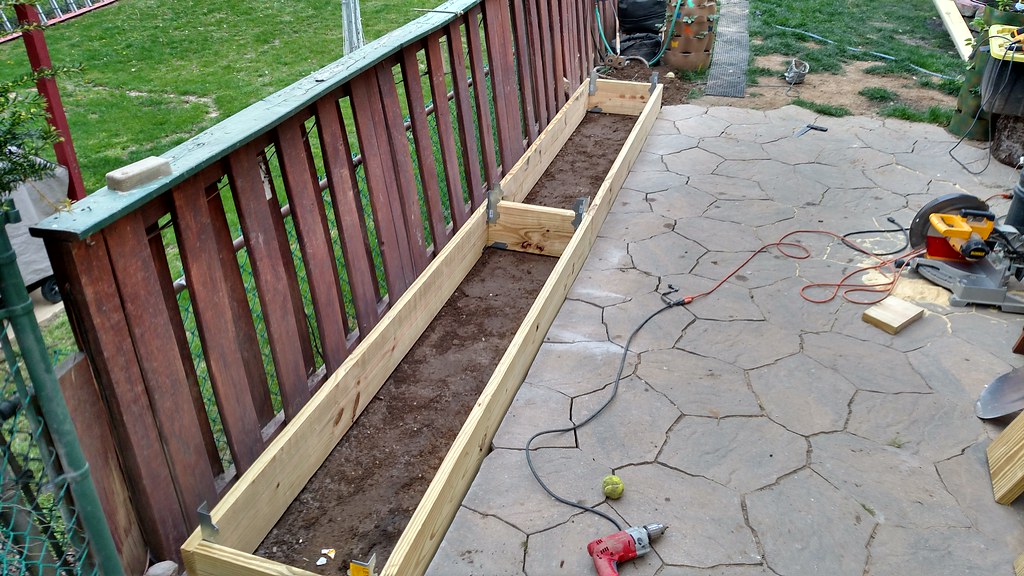
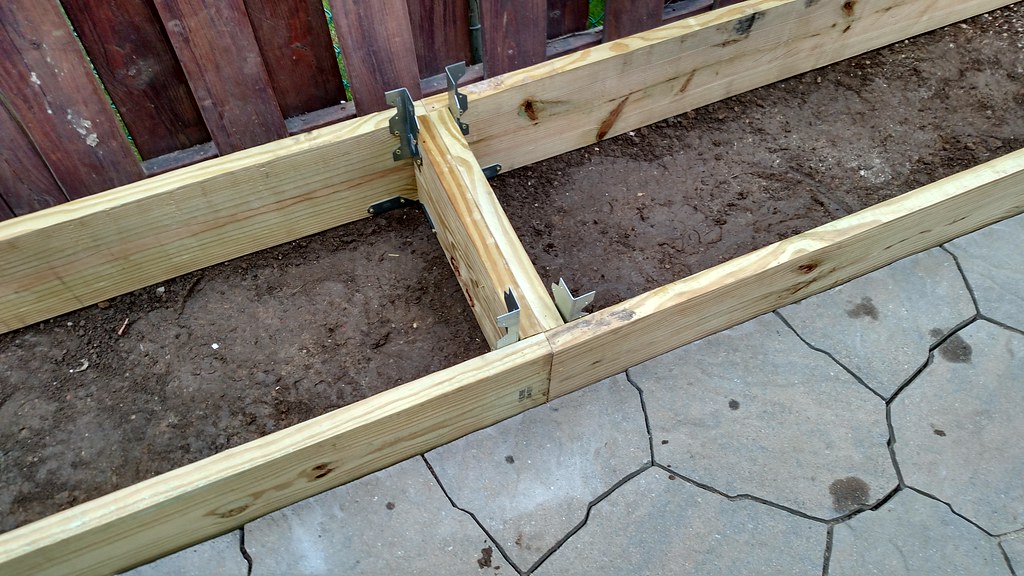
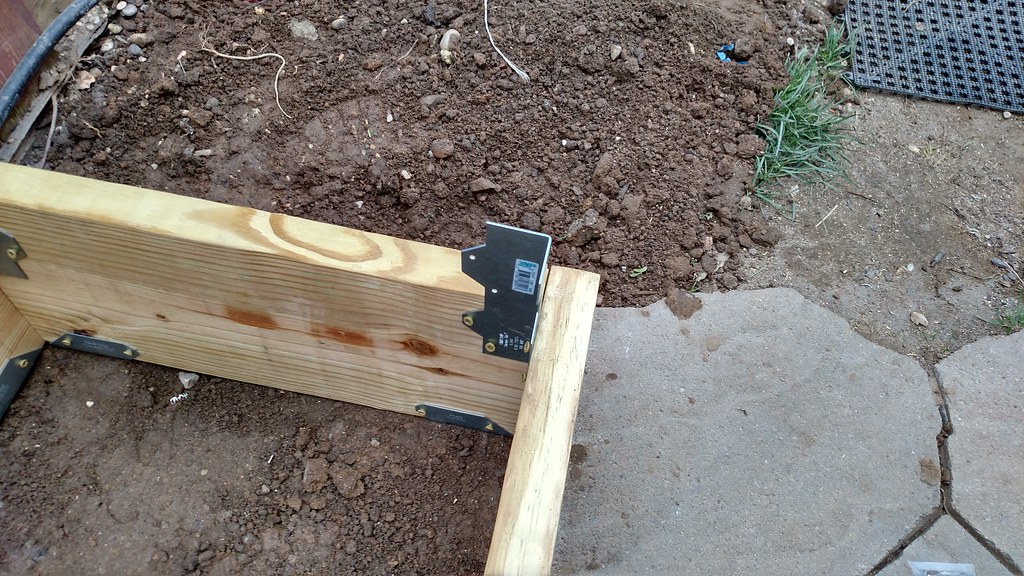
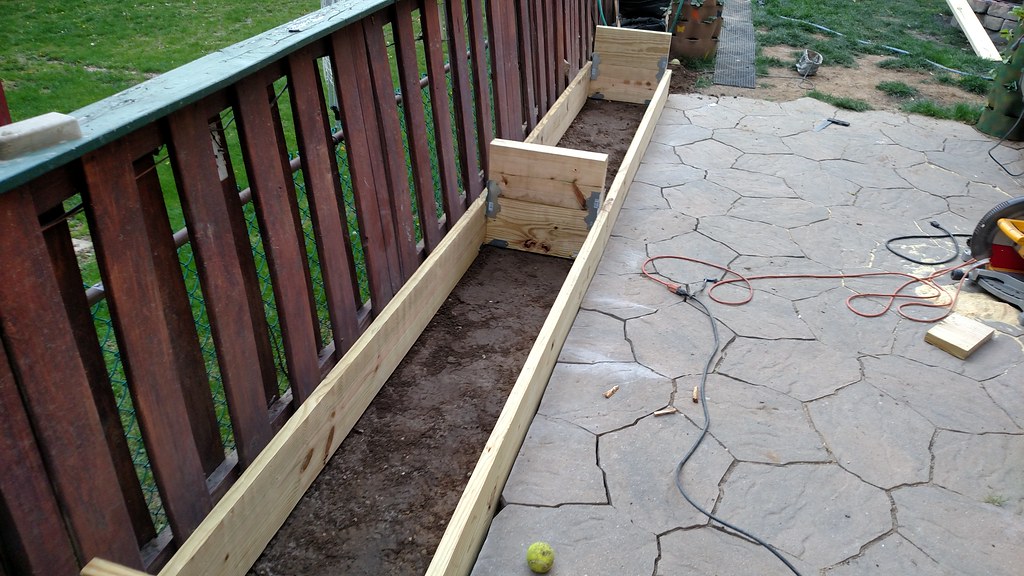
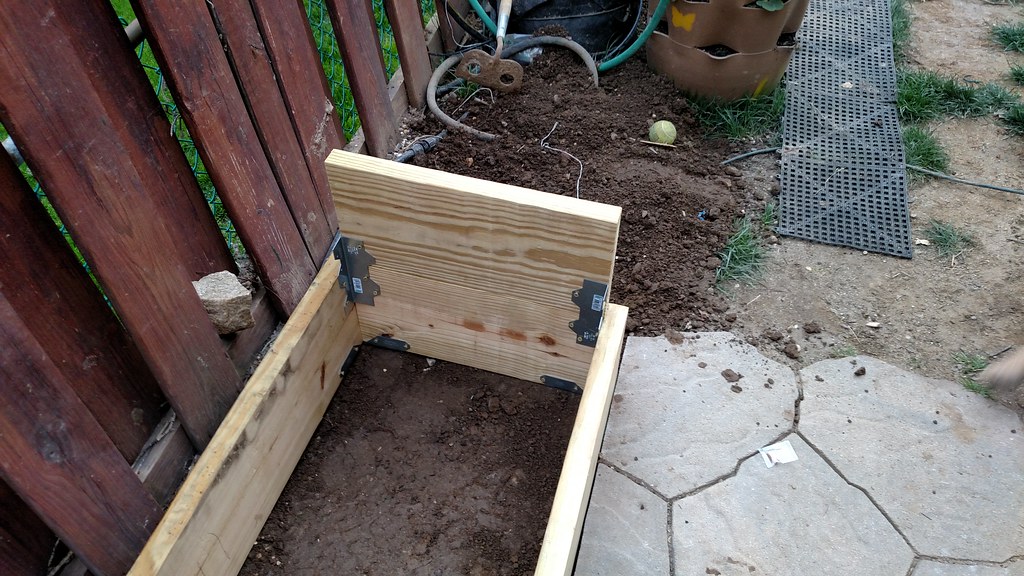
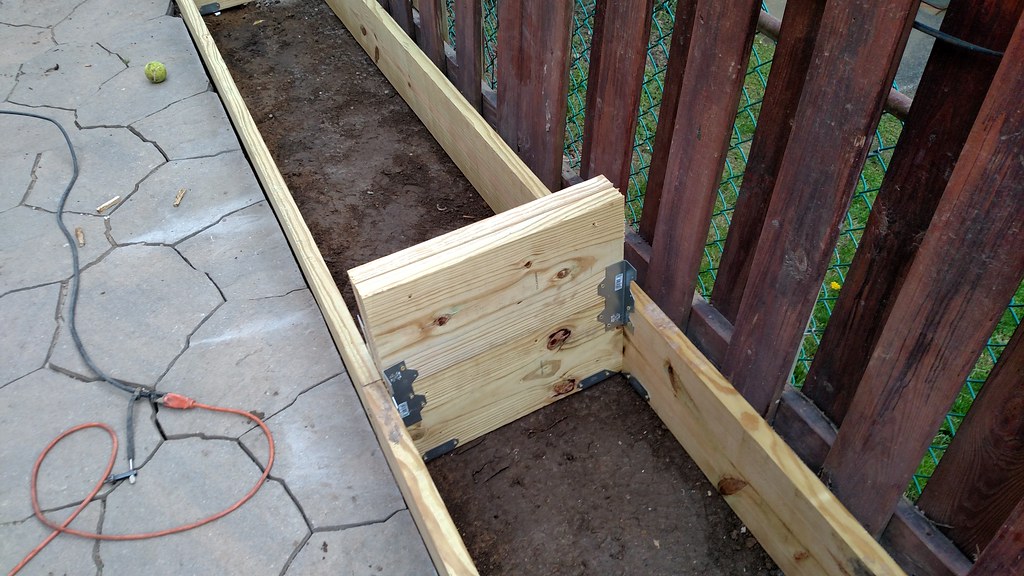
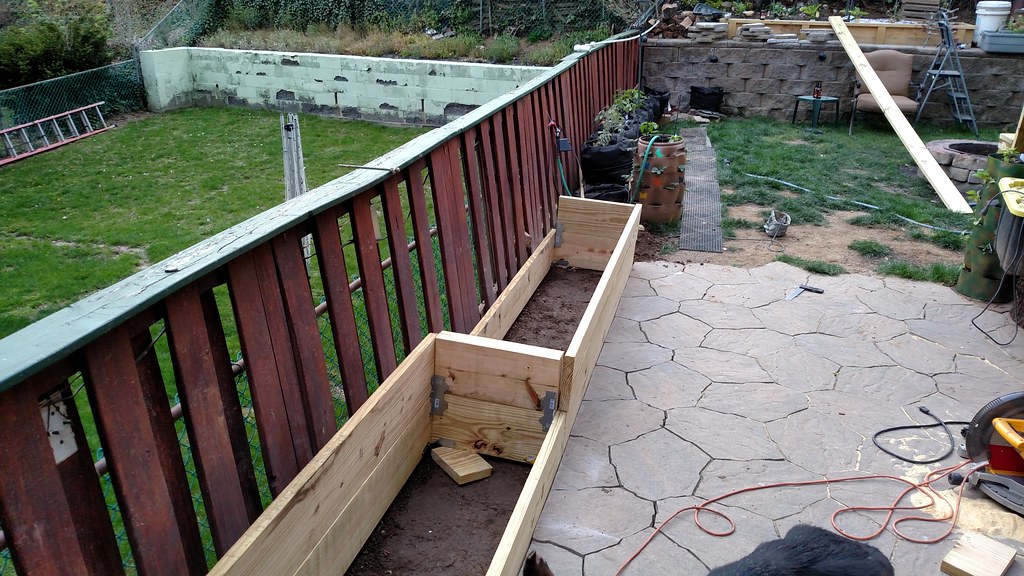
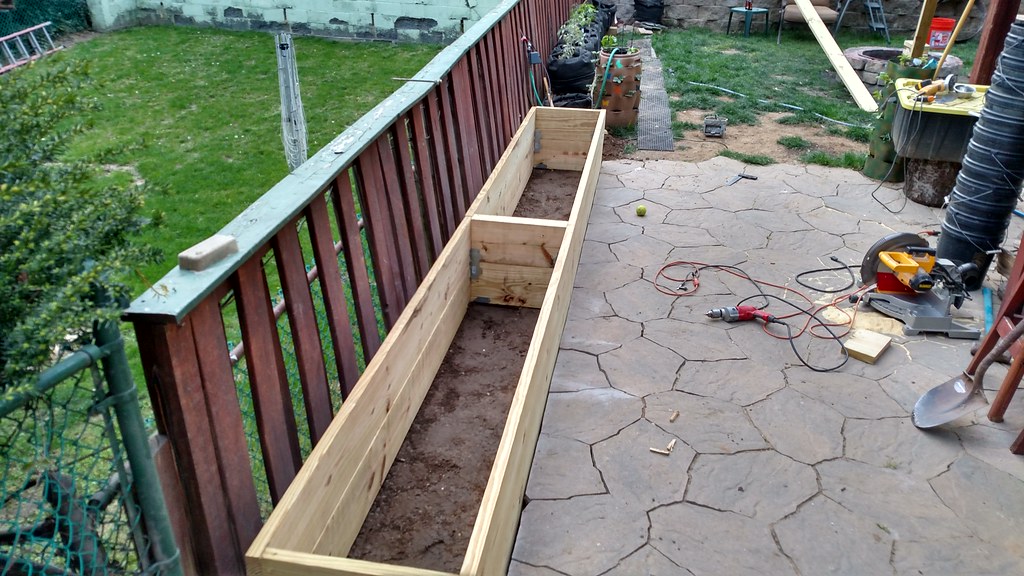
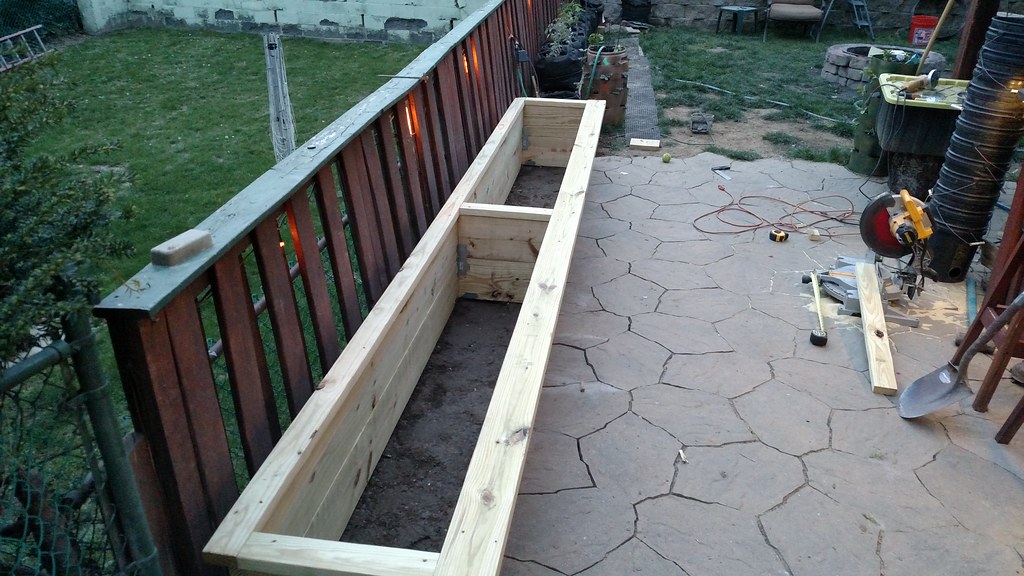
Raised Bed #5 Hugelkultur BedDid he say "5", Yes! I said "5" April 19th, 2016 - I must be freaking nuts... I'm sitting in the yard playing with the dogs looking around thinking, "this is great, the bulk of the gardening is done, now I can relax", I'm sitting on the grass tossing the ball up by the Hugelkultur bed past the Hydroponic system, the dogs a Shepherd (Maggie) and ★★★★zu (Millie) are happily retrieving the ball each time. A couple tosses and the ball lands behind the Hydro Buckets, as Maggie is trying to dig out the ball I'm thinking, hope she don't tear up the plants or the air lines... a couple more tosses, then I start eyeing up my Hydro setup and then the Hugelkultur bed, then the Hydro, then the Hugel and thought, Wow that Hugeklkultur bed looks really nice. I especially like the clean look of the pavers up to the side of the bed, and the irrigation setup is working out so well. I just like the aesthetics more of the Hugel bed. Anyhow as I'm processing all of this, I started comparing the setup of the Hydro and the Planting of the Hugel bed, thinking how nice it was planting in the Hugelkultur bed compared to the Hydro System. I know what my subconscious mind was doing, it already knew what the outcome was gonna be, it just had to convince my conscious mind. I called the wife out and said, "what do you think about another raised bed instead of the Hydro system", she looked at me like I had two heads and said, "What will you do with the Hydro setup", I said, "I'll give it away"! "Really", she replied. "But you just built the hydro setup and love it". I said, "but look how nice the Hugelkultur bed looks"... every time I say Hugelkultur I expect someone to say, "gesundheit". So the conversation continues with stuff like, "I'll make the bed at bench height and make a top piece wide enough for a sort of bench, it is right across from the bar". "It will also tidy up the pavers a bit", "It will look neater than the buckets in the winter", she says, "yeah I do like the pavers you just did". I have such a mish-mosh of pavers, but that story is for another time. I then told her, "Plus I can get rid of the rest of the trees that I cut down", she liked that idea. I do have wood all over the yard. "And the irrigation line is already there, I only need to install 2 barbs and that's it", she of course had no clue what I was referring to. Her last statement was the kicker, "well it would be easier on you with your back and stuff, we are getting older, chuckles all around. "OK, I'm doing it this weekend", her reply, "Your nuts"! We both smile and my mind starts racing! Now the hydro setup is pretty easy but there are more things to consider and a much larger margin of error when using this setup, there's a lot more worries like Nutrient Level, getting the plant roots just right so they don't dry up or drown, water temperature, air pump or water pump cutting out, electricity going out, squirrel chewing through any of the air hoses or electric. And then there's end of season cleanup, water pump is removed and stored indoors, air stones are removed, air hoses and air pump are removed and store indoors, hydroton and growstones are cleaned and stored, net-cup lids are cleaned and stored, buckets are flipped so they don't catch water and the up-righted buckets aren't aesthetically pleasing. Now all this sounds like a lot of work but it really isn't that bad, it's just me trying to convince myself to go with the Hugelkultur bed. Now none of the aforementioned has happened, other than cleanup, but I do worry about these things on a regular basis, especially when we go on vacation for a week and the more I thought about the Hugelkultur bed, I was definitely going to build it. What can I say... I love dirt! I thought I can do this, I still have 2 weeks till mothers day (my normal planting time). OK So here we go!
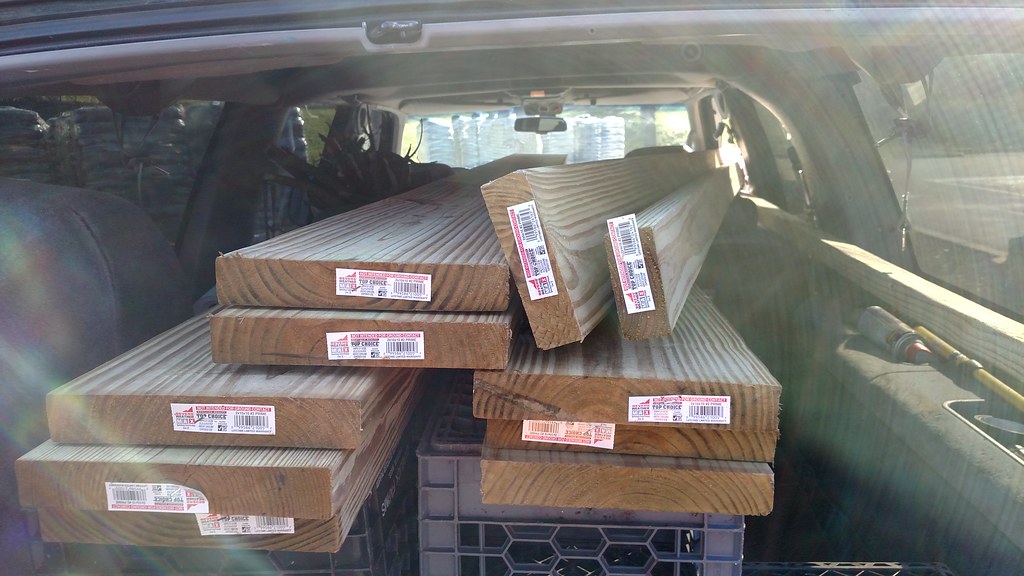
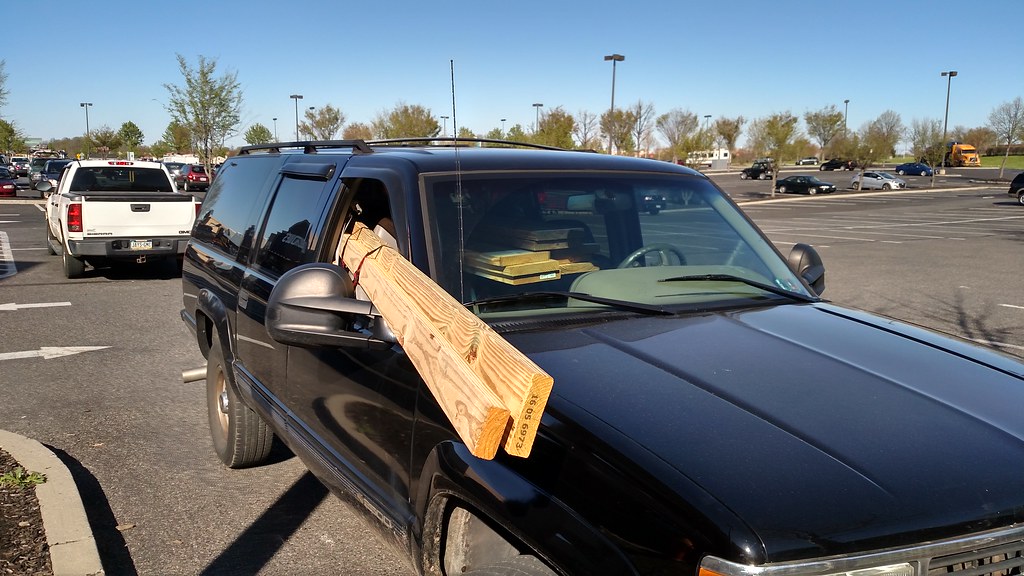
April 19th, 2016 - This morning on the way to work I stopped at Home Depot and picked up some hardware for the beds and a new Segmented Diamond Blade for my angle grinder.
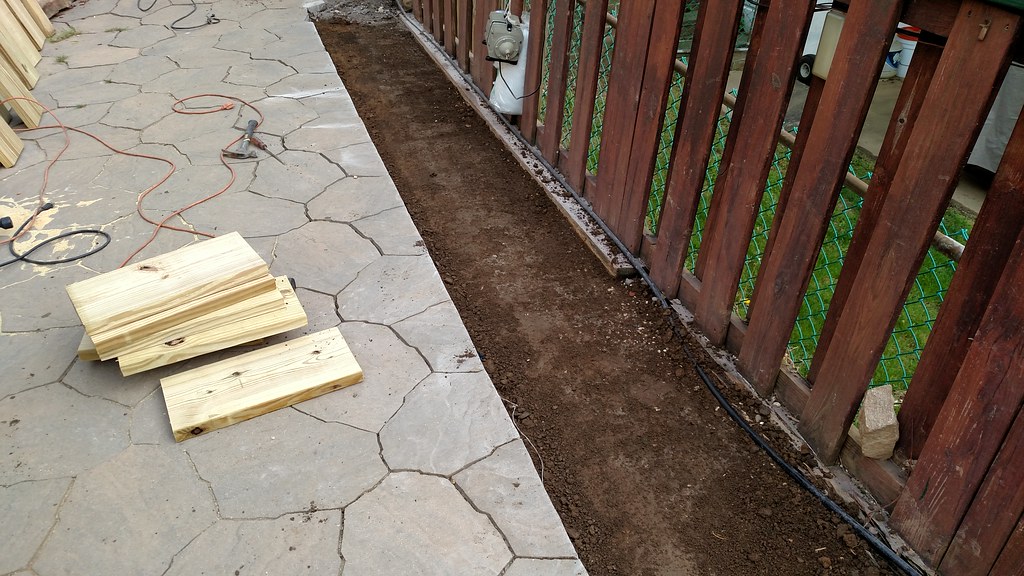
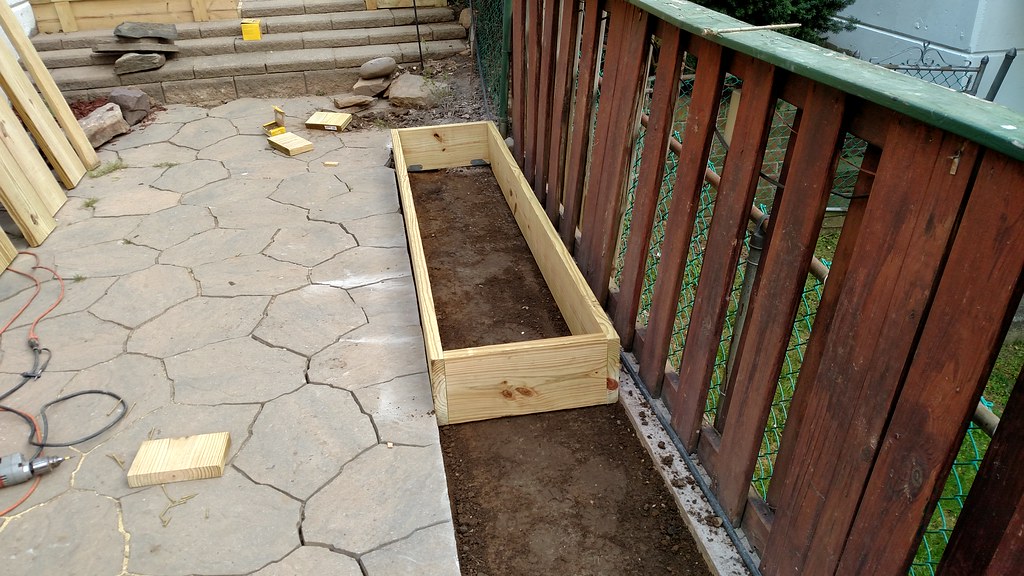
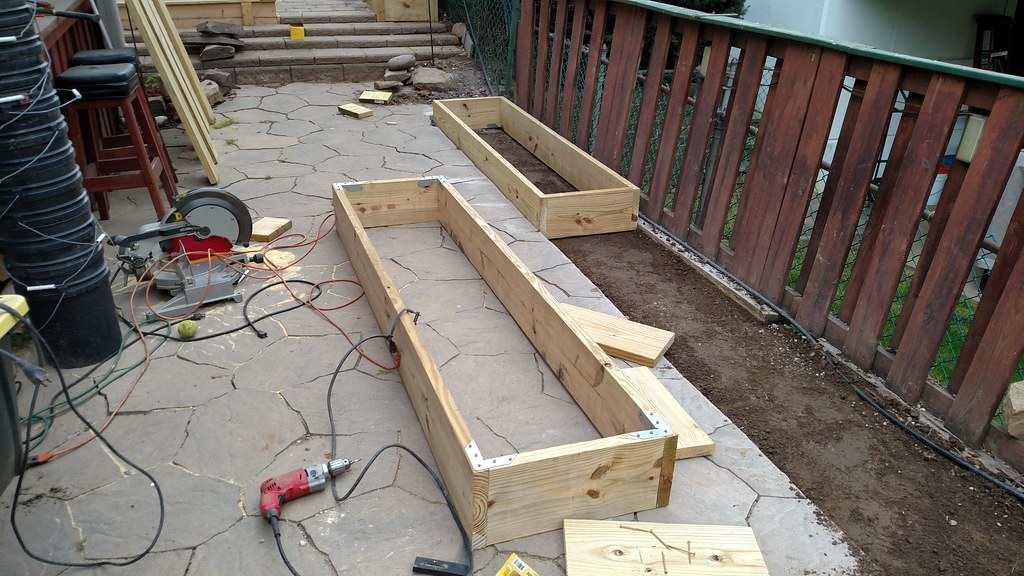
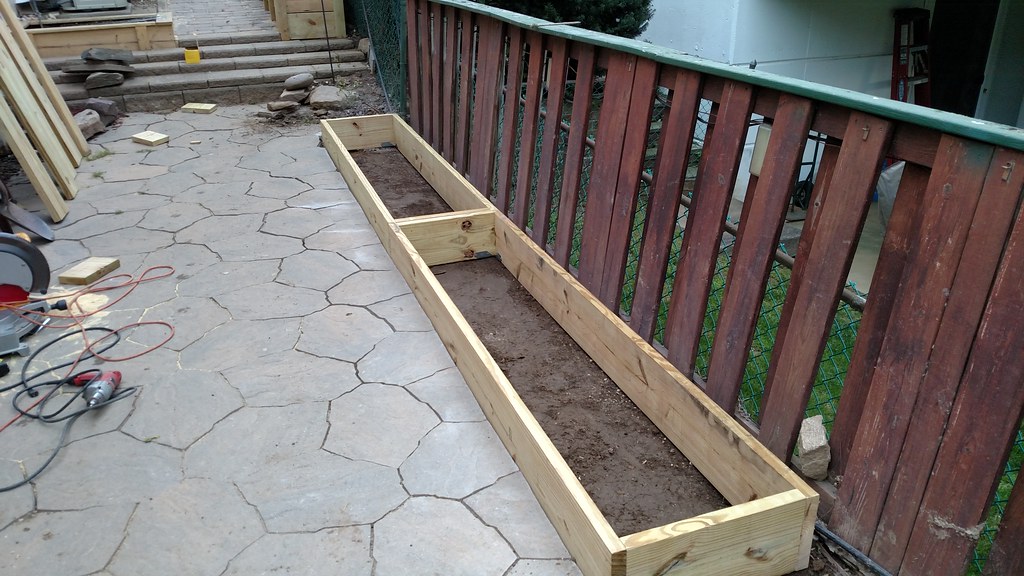
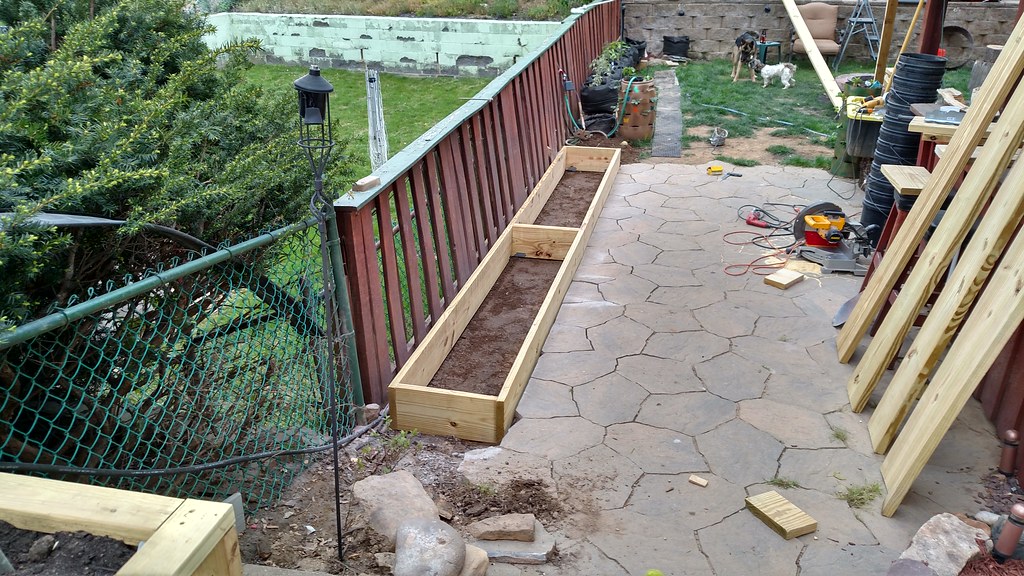
 April 21st, 2016 - I gotta say, "I really have good feeling about this project". I feel like a kid in the candy store! C'mon 4:30!!! 4:00... yeah, I left work early, anyway... I head straight home and into the back yard, no dinner. I start by running a line for the pavers to be cut, second time doing this, I just did this Saturday for the Hydroponics before I decided to replace it with a Hugelkultur bed. 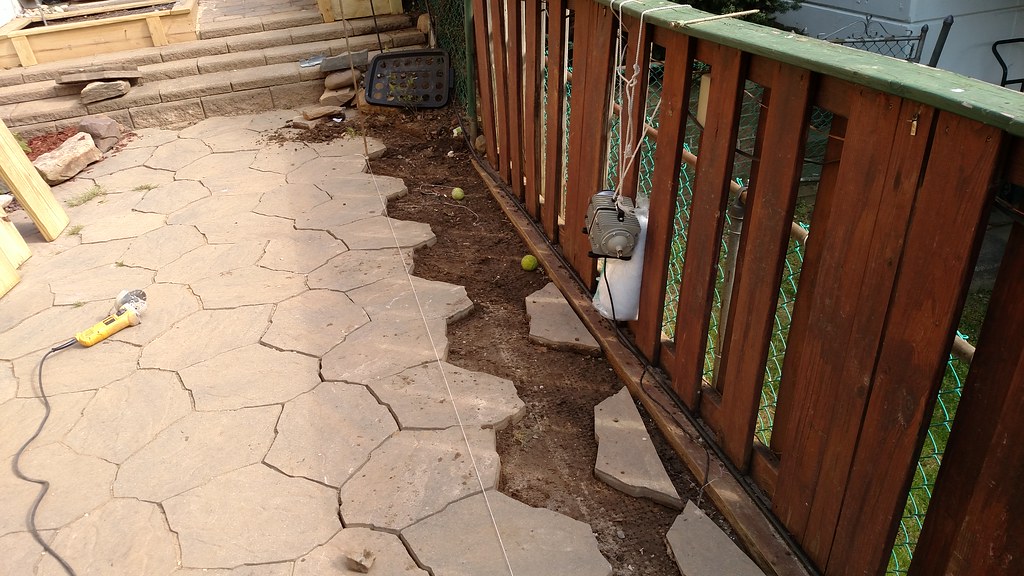
|
|
|

|
|
|
#6 |
|
Tomatovillian™
Join Date: Jan 2018
Location: Philly 7A
Posts: 739
|
Raised bed #5 part 2
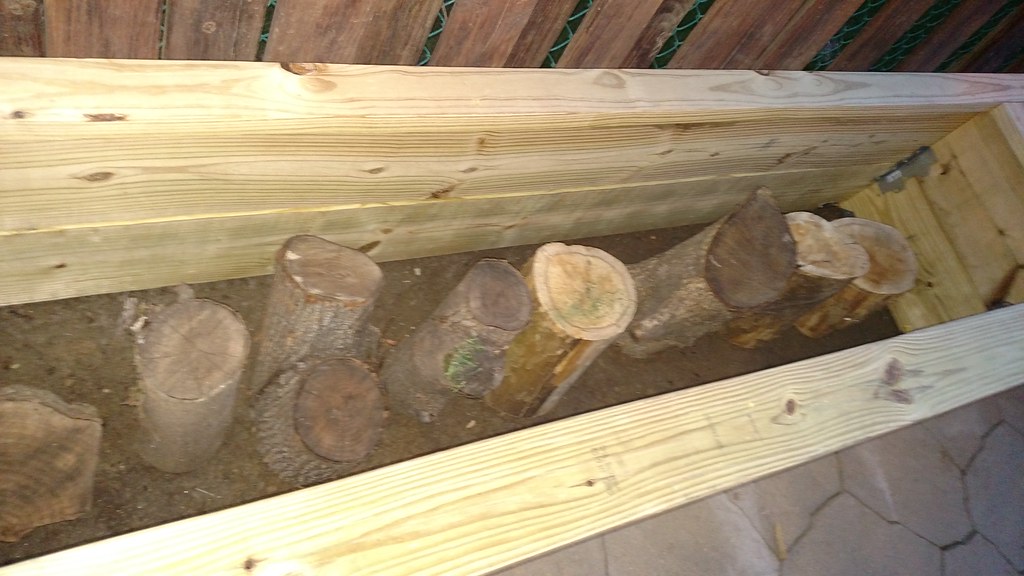 
 April 22nd, 2016 - Before work, I saturated all the wood in the bed. 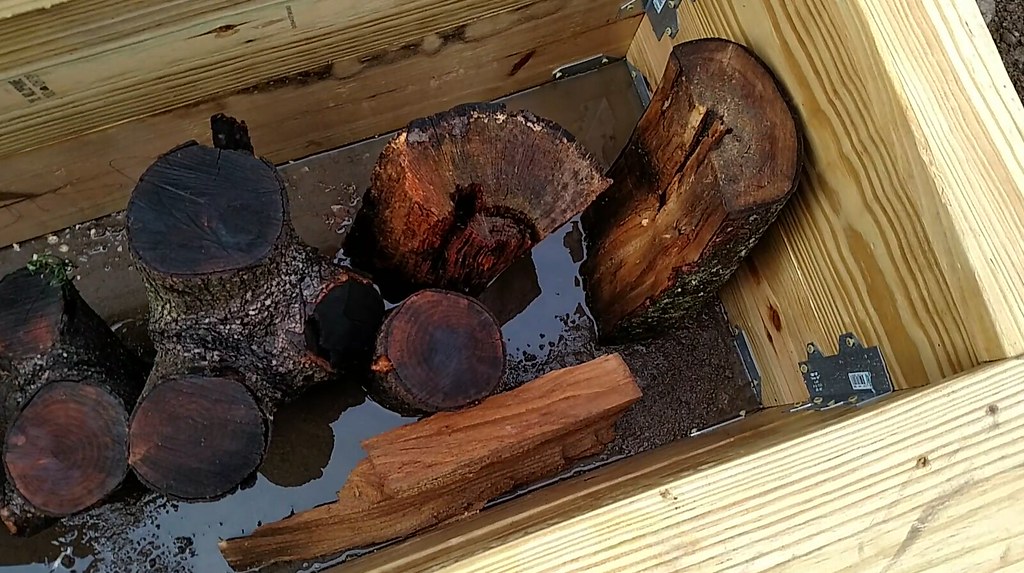 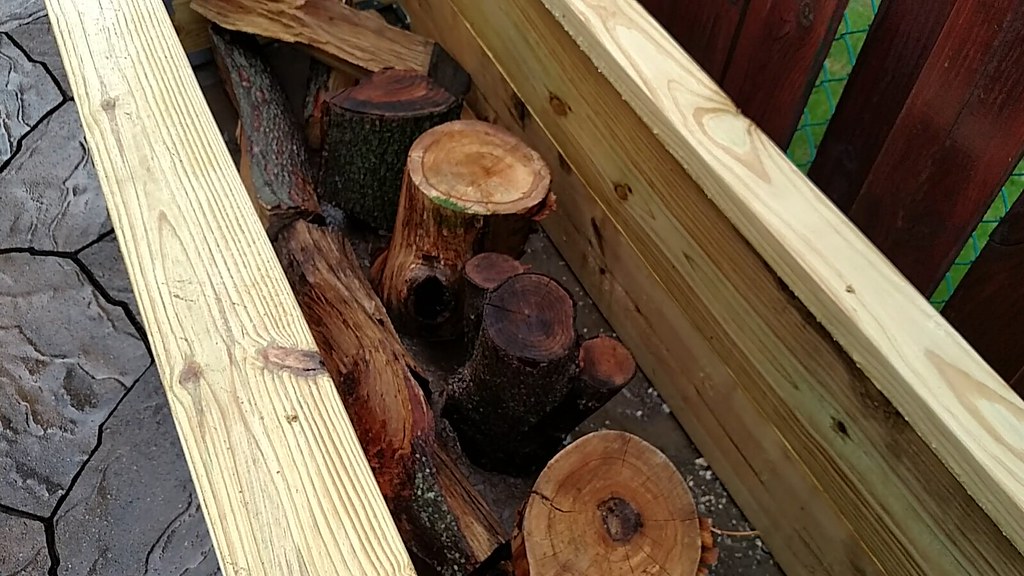
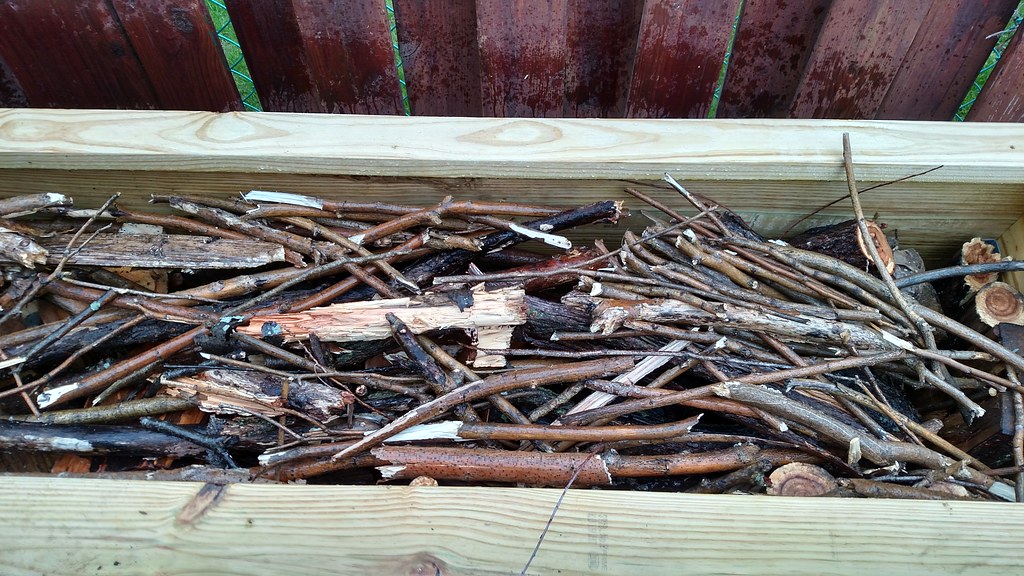
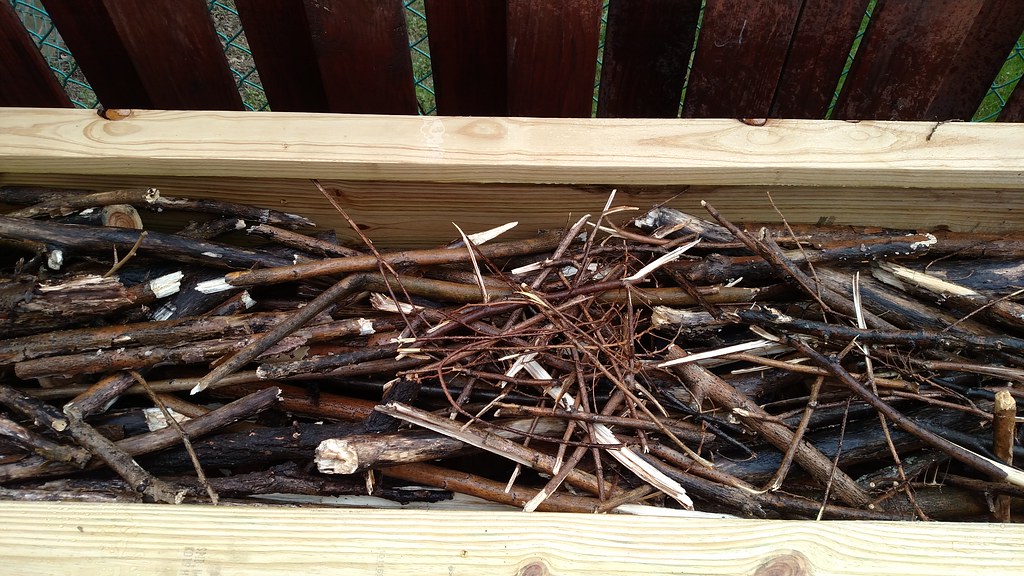
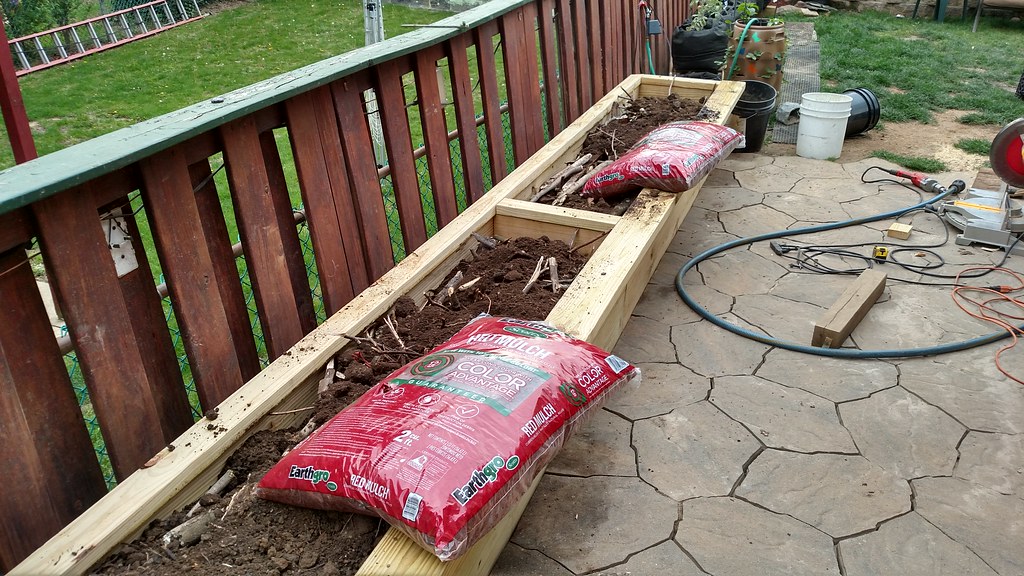
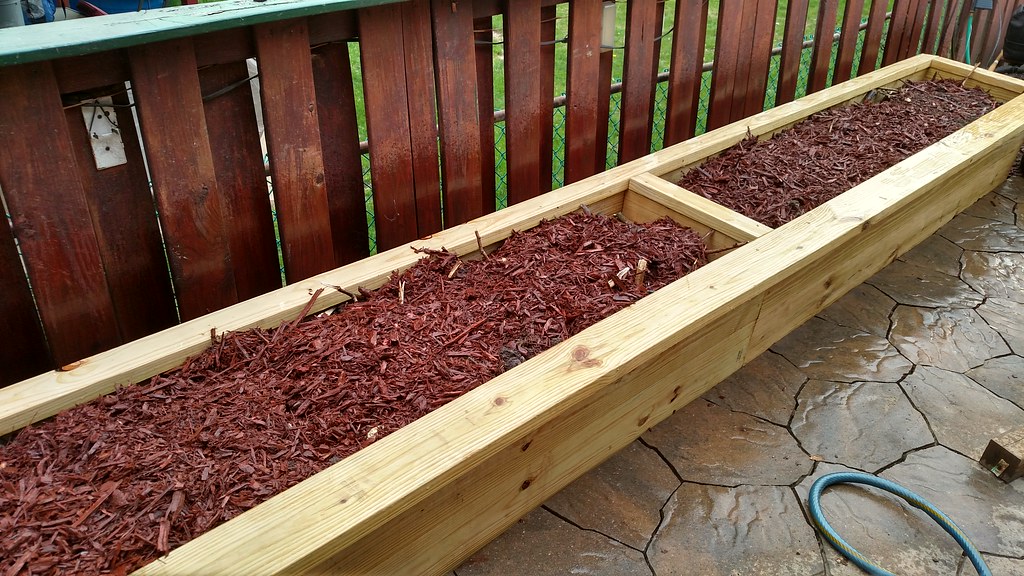
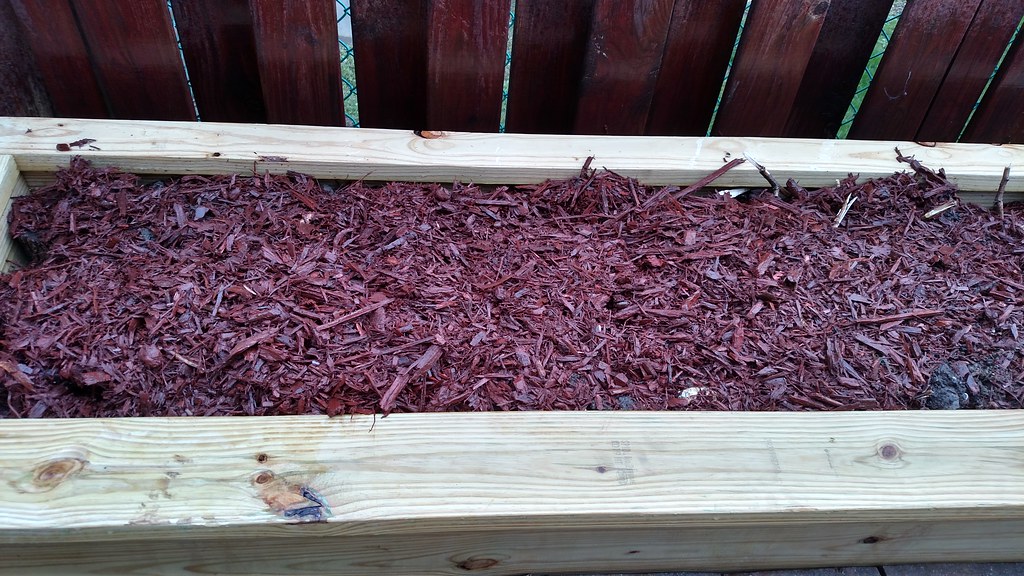
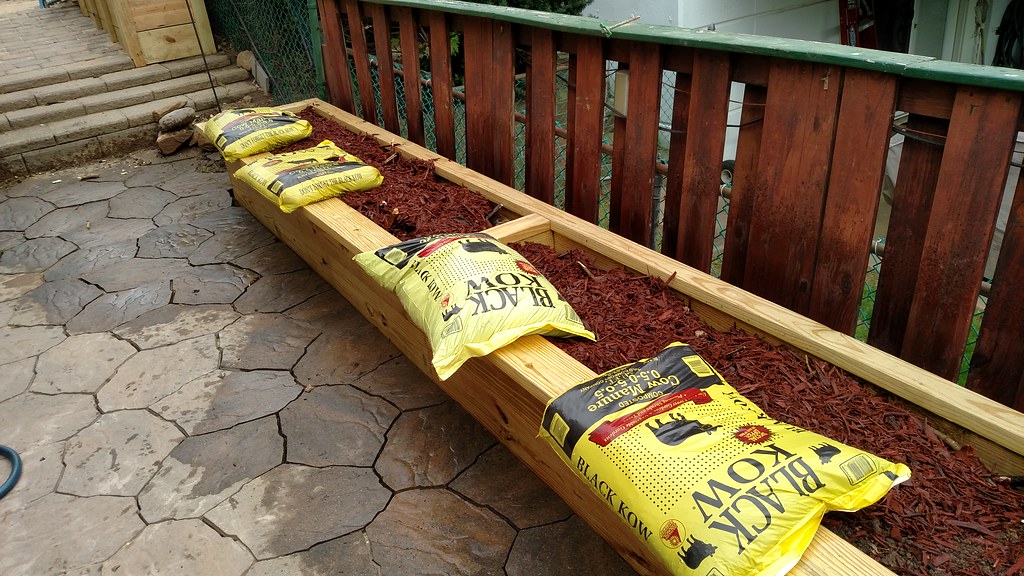
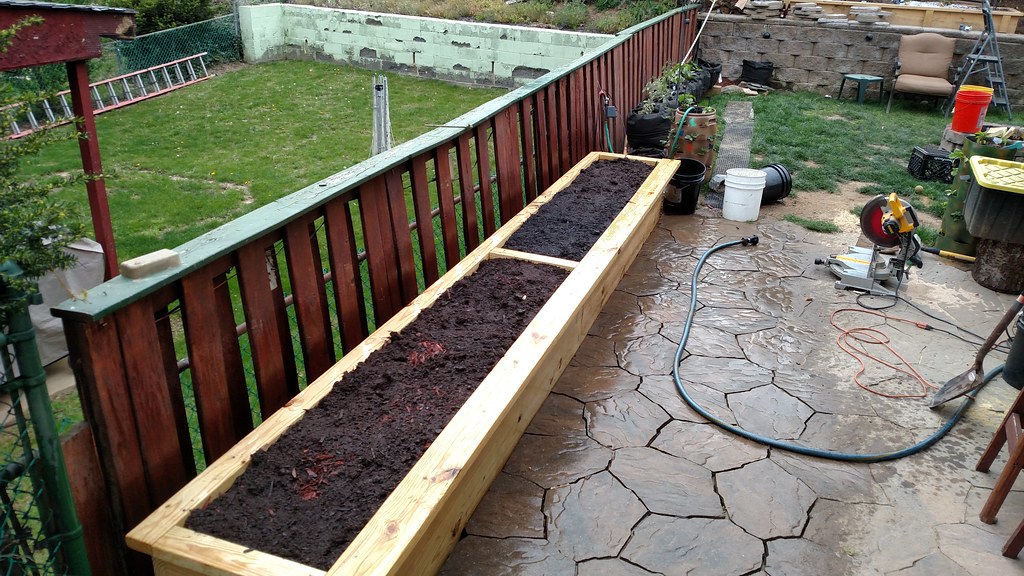 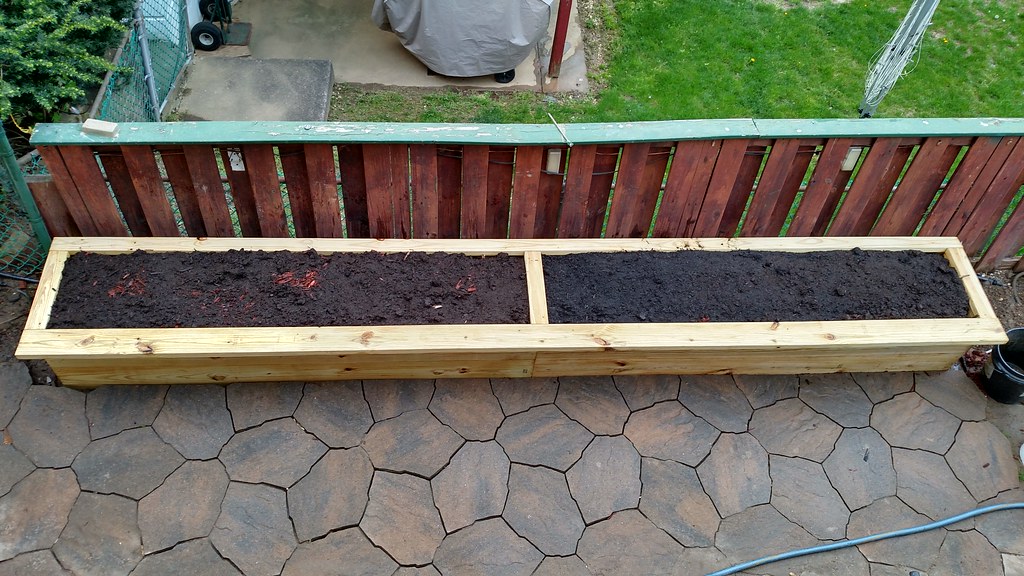
April 23rd - Then I installed the plants that were removed from the DWC system. Removed the pavers again and added some paver base to level the pavers a bit better. April 23rd - Installed the uprights, these aren't only for aesthetics but also for structure, and it pulls the boards flush. Then the drip line is installed, then tossed some paver sand down and worked the sand between the bed and pavers.
May 1st, 2016 I installed the new LED'S last night on the other Hugelkultur bed and I am extremely impressed, I am so impressed that I ordered twenty more bulbs and 6 more Railing lights for this Hugelkultur bed. @ 0.48 watts, you can't beat it, these will replace my 7 watt deck lights and 21 watt front yard landscape lights. May 15th, 2016 I installed 6 more Railing lights for this Hugelkultur bed. The LED ROPE Lights are removed September 17th, 2016 - After an excellent growing season, the plants are removed and the beds are stained. |
|
|

|
|
|
#7 |
|
Tomatovillian™
Join Date: Jan 2018
Location: Philly 7A
Posts: 739
|
Mom and Dads Hugelkultur Raised Bed I've been spreading the word on Hugelkultur Raised Beds. My brother had seen mine and I was telling him about Hugelkultur, he was hooked immediately. He then built a few in place of his removed fence and will be building a few more. Over at Moms for Christmas dinner I checked out her little veggie garden. I said, "whats the hell is that", she said, "thats my garden".We got to talking and I said we should do one for Mom and Dad in an effort to make their gardening a bit easier on them. So I told Mom, "Mom were gonna build you a Hugelkulture bed", She said, "what" and I said, "Hugelkultur", she then said, "gesundheight"...I said, "no Hugelkultur, its a method of gardening". So I explained the entire process and she seemed to get it. I said, "NO, this just wont do"! After a few measurements I had a game plan, I talked with my brother and we decided on a build. Later that week I was driving around and came across some wood perfect for the bed. I drove around with this wood in the back of the truck for several weeks. Then last week my brother calls and tells me he picked up and dropped the wood off at moms with some Hugel Wood. I thought, "oh boy, were committed now", so we decided on knocking it out this weekend. Friday night I tossed some wood, tools and some other Hugel Bits in the back of the truck and proceeded to smash an 80 pound soaking wet hay bale in there also. December 31st, the build. Dad tearing apart the old bed. Built the first row and leveled the bed. We dug down about 12" or so to start adding the wood, the goal was to have at least 6" of loose soil on top. We crammed as much wood in as we could, then poured a few cups of 10-10-10 on top of the logs. I'm not sure if the 10-10-10 will even help, but I guess it can't hurt. We decided to build the rest of the bed before digging out, that was my call, Jim wanted to dig out first but we had no where to put the dirt. We added a center support and outside supports, we were concerned with the sides bowing during freezes. We then topped off the logs with hay. Then we topped the hay with soil and continued. See Jim! I told you there was no place for the dirt. When we were discussing this build, we were under the impression we would need a lot more soil, since my original plan was to make my raised beds on the hill into Hugelkultur Beds, I figured I would dig out one of my raised beds and use the soil from that. Apparently we didn't need any additional soil. After all the soil was added back, I soaked the bed for almost an hour. I'm banking on the level dropping at least 4" by planting time and I can top dress with some composted manure. Now all that is left, is to cap the top and possibly run irrigation oh and of course it will need to be stained but that will be in the fall of 2017. |
|
|

|
|
|
#8 |
|
Tomatovillian™
Join Date: Jan 2018
Location: Philly 7A
Posts: 739
|
Raised Bed #6 Hugelkultur BedA few weeks ago I was eyeing up the yard and admiring the Hugelkultur beds. I thought about last seasons crops that were in the “Air Pruning Pots” that were along the side of the fence and was contemplating how to set up the Air Pots next season. After much thought, weighing the "pros" and "cons", I decided to build another Hugelkultur bed along the side of the fence, this will be my 6th bed but 8th box, 9 if you count Moms Hugel Bed. The plants did good in the Air Pruning Pots, but not as good as the plants in the raised bed. One of the "pros" to the “Air Pots” was they were mobile and at the end of the season I could move them up onto the hill and open the yard up a bit. But this was also a "Con", because the bags could be pretty heavy when wet and storing on the hill looks a little unsightly. So after one year of the Air Pruning Pots, I decided that I didn't want to be bothered putting the “Air Pots” away each season and wanted something more permanent. I will continue to use a few on the side patio. This bed will be 24” wide by 20' long, I will loose some of the yard but another "pro" is that I can use the beds to straighten and support the fence, however, the cost of building the bed is another "con". My biggest "con" is that the box turtles hibernate in this corner, so I will have to dig out the corner in front of the corner of the bed and add leaf mulch and wood mulch so they can still hibernate there. Here is what I did to straighten out the fence using the Hugel Bed.
6 bags manure 4 bags mulch January 18, 2017 Earlier this week I checked the weather forecast and Saturday calls for sunny and 58°, after seeing the forecast I decided to knock out the bed this weekend. The day after I purchased the wood, I checked the weather again and the forecast is still 58° but cloudy, no matter, it will be dry, It's been wet the last few weeks and looks like more rain the beginning of next week.
January 20, 2017
January 21, 2017
I still have to replant the Raspberry bush, add the upright supports and tweak the watering system. I will be removing the end top piece on the finished bed and install a wider piece for a neater transition between the new bed and the finished bed, also I need to remove the 6" upright in the front of the finished bed and move over the seam of the new bed and finished bed. I still need to dig out a little of the soil in the front of the bed, this soil will be tossed on top of the leaves. Over the next several months I will be adding compost from my compost pile and 6 bags of manure, some potting soil, perlite and 10-10-10. I also need to dig out the finished bed to the far left and install another 4"x4"x10' upright for the permanent support system. This is gonna be a chore because of the wood in the bed, my only other option is to put the upright on the outside which I do not want to do unless I have no other choice. January 28th, 2016
|
|
|

|
|
|
#9 |
|
Tomatovillian™
Join Date: Jan 2018
Location: Philly 7A
Posts: 739
|
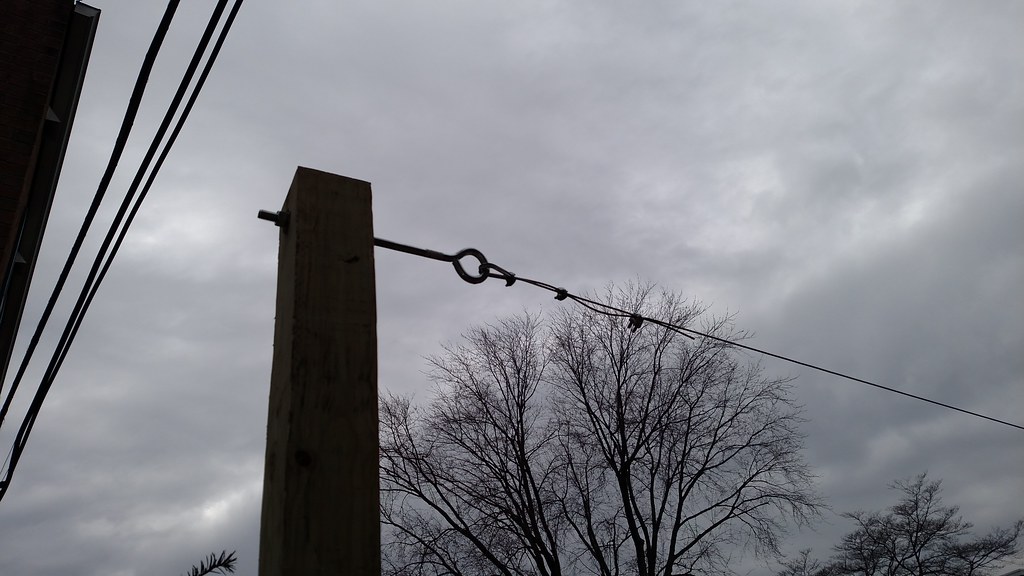
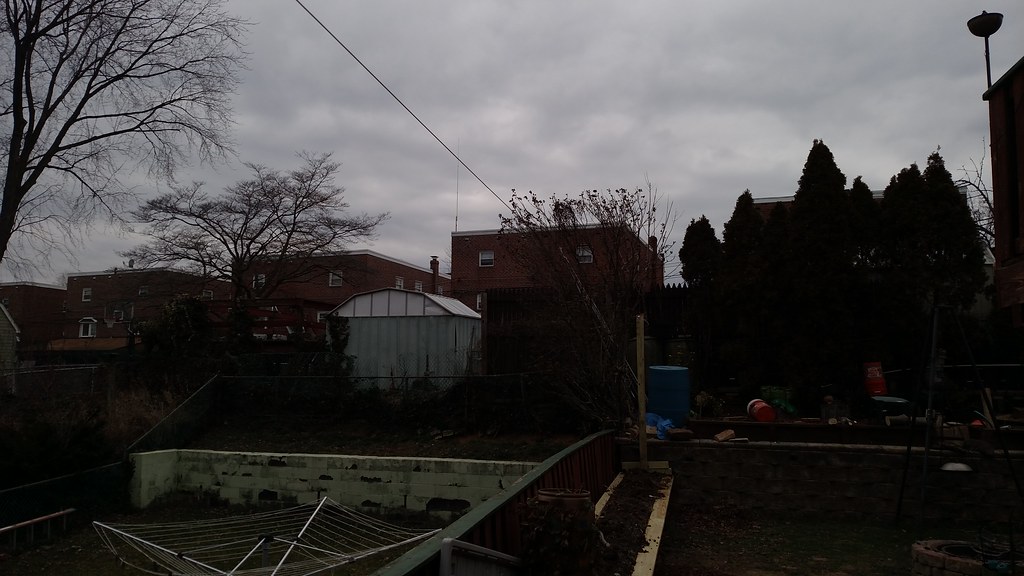
February 5th, 2017. I finished installing the vertical support line.
 February 6th, 2017
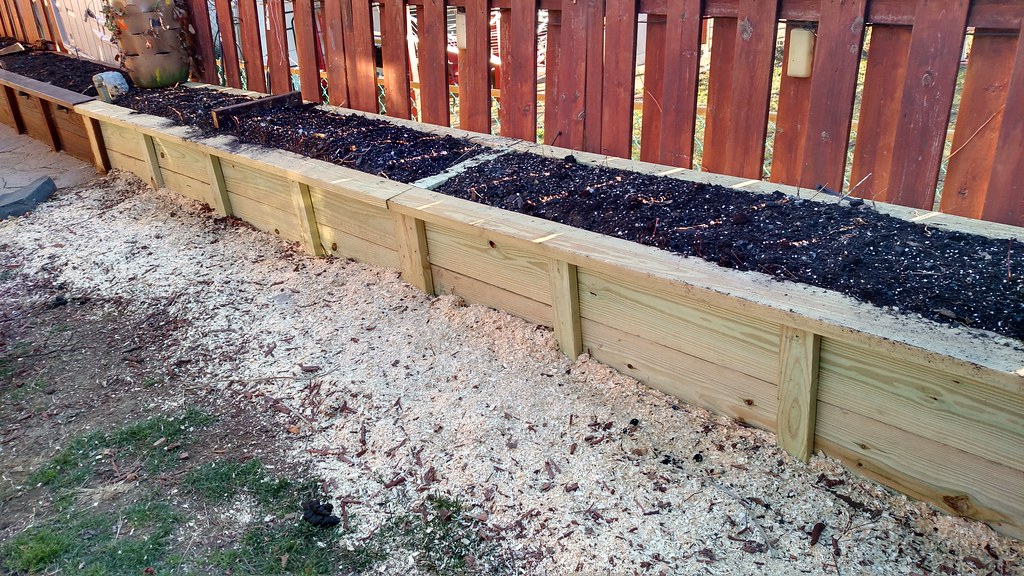 April 12th, 2017
May 20th, 2017
|
|
|

|
|
|
#10 |
|
Tomatovillian™
Join Date: Jan 2018
Location: Steens, MS 8a
Posts: 410
|
Wow, you are very handy, and made great use of your space. I can't imagine being that hemmed in! Our house sits on a little more than an acre, and my nearest neighbor is about 200' away. Very nice work!
Don't get me started on the gosh darnoodleyable Bradford Pear! I inherited about 8 of the things when I remarried and moved here 7 yrs ago. I've managed to get rid of 3, but the remaining 5 are about to bust out in bloom...the one time of the year that I sorta like em...but I could do without their dog-★★★★ aroma! Keep up the good work and keep sharing! Even I may get inspired! Jon |
|
|

|
|
|
#11 |
|
Tomatovillian™
Join Date: May 2016
Location: Greenville, SC
Posts: 122
|
Wow! I love what you have done in the given space! Thanks for sharing all your hard work!
|
|
|

|
|
|
#12 |
|
Tomatovillian™
Join Date: Oct 2016
Location: Laval, Quebec - Zone 5B
Posts: 144
|
Reading your post has been pure pleasure!
Thank you for sharing 
|
|
|

|
|
|
#13 |
|
Tomatovillian™
Join Date: Feb 2012
Location: Newfoundland, Canada
Posts: 6,794
|
WOW! Really inspired by your hugel beds. Looks like they worked out great, and the more I see, the more I think... dang I have to do some beds like that. I have so many trees and brush around, more than I could ever burn, if I cleared some ground, then beautiful raised hugels would be the ULTIMATE border/fence!
  Good for you, putting one in for Mom and Dad as well.  How is the asparagus doing btw? |
|
|

|
|
|
#14 | |
|
Tomatovillian™
Join Date: Jan 2018
Location: Philly 7A
Posts: 739
|
Quote:
|
|
|
|

|
|
|
#15 |
|
Tomatovillian™
Join Date: Mar 2015
Location: Bozeman, Montana Zone 6b
Posts: 333
|
Please see http://www.tomatoville.com/showthrea...ghlight=whoose for a discussion of the issues with treated wood.
|
|
|

|
 |
|
|
