

|
A garden is only as good as the ground that it's planted in. Discussion forum for the many ways to improve the soil where we plant our gardens.
|
|
|
Thread Tools | Display Modes |
|
|
#1 |
|
Tomatovillian™
Join Date: Jun 2011
Location: Idaho
Posts: 241
|
Permiculture, and in particular Hugelkultur has intrigued me for a while (see [a href="http://www.richsoil.com/hugelkultur/"]this link[/a] for a general intro to hugelkultur).
This past winter a big limb cracked and fell off the boxelder tree in my empty lot garden, and it inspired me to have a try at a small hugelkultur-ish bed. Technically, this is an "in ground" Hugel bed (one of the many variants), and I kind of messed with the system to meet my own needs, so hopefully the whole thing works. P-) Here's the downed limb - 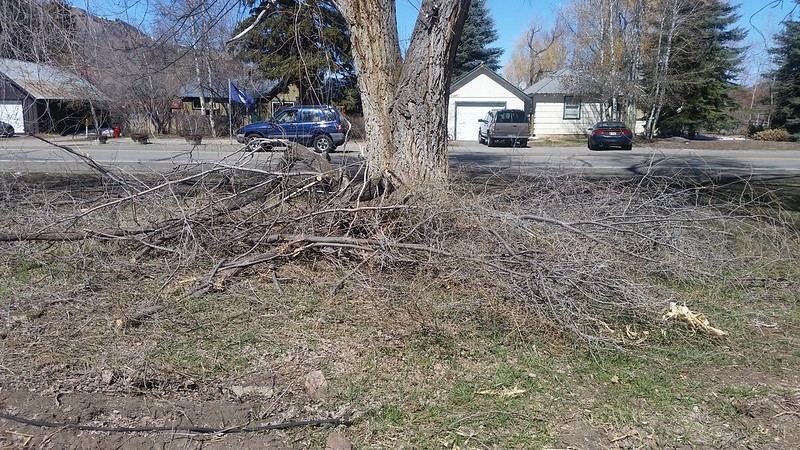 So... Step 1. Dig a hole. This one is 4' by 8' and 4' deep.  I think it's cool how different the soil layers are in the dirt piles. On the right is the dark topsoil (top foot or so). On the left in front is the next layer down, a lighter sandy clay (old river edge?), behind that (and below it in the hole) is a denser, darker clay. Step 2. Add large logs. I formed a rough pyramid. 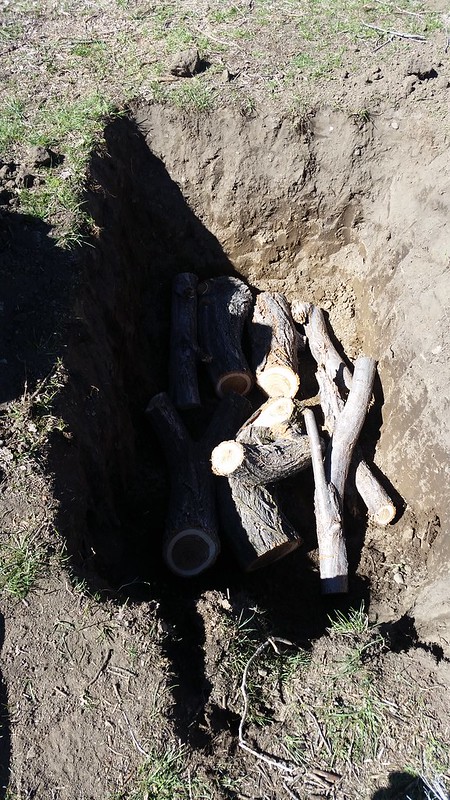  I stuffed some of the inter log spaces with sod from the hole, and added some un-composted garden waste (from the top of the compost pile) into other spaces. Step 3. Add some old corn stalks from last season. The idea is to keep lots of air in the mix, so everything can break down over time, and have lots of looseness in the soil for the plant roots to snake through.  Step 4. Pile on some hot, active compost from the pile. I want lots of nice composting organisms going to work down there. I took a garden fork and kind of "shook" the whole thing so it really got down in there.  Step 5. Add a first layer of soil back to the hole. I used the "mid" sandy clay-ish stuff. Then, I added a layer of much finer diameter branch "tips". Layers of wood/rotting garden waste help keep the C/N ratio in the pile on track. above that, I stacked on some partially rotted (upper/mid compost stack) tomato vines from last year. 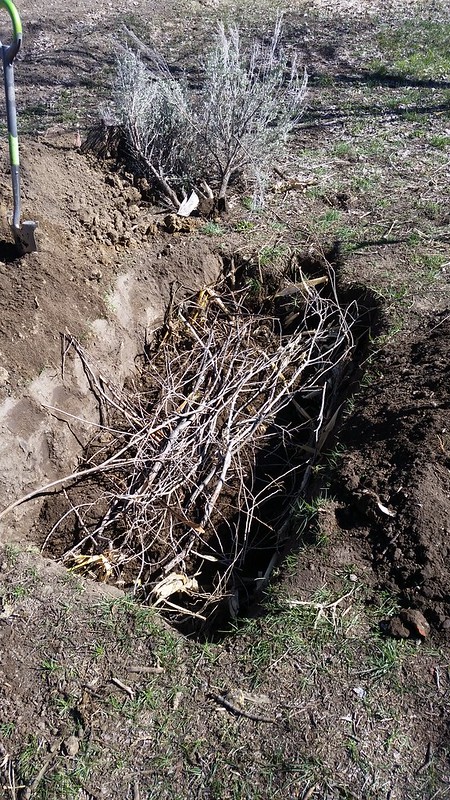 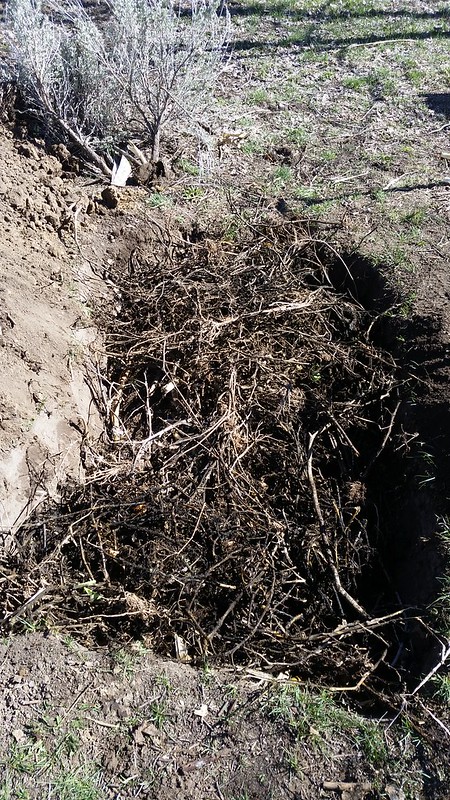 Step 6. Add a layer of soil to the above, "shake" it with the fork, and then repeat the corn stalks/smaller branch tips.  More dirt, more partly rotted tomatoes.  At that point I hooked up the hose sprayer and watered the heck out of the thing. Just as you would a compost pile. Step 7. One more thin layer of soil, and we're back to level with the ground. This is where I diverge from traditional Hugelkultur. Basically, I want to grow in this bed, starting this year, and I think having a live, active, compost pile all the way to the top would rob too much nitrogen from the system, so I'm essentially building a very rich row on top of said pile, but squash roots (the plants of choice the first couple years) will have no problem reaching down to the bottom of this thing. Because of that I added a fair amount of blood meal to the following layers to counter some of the nitrogen loss. 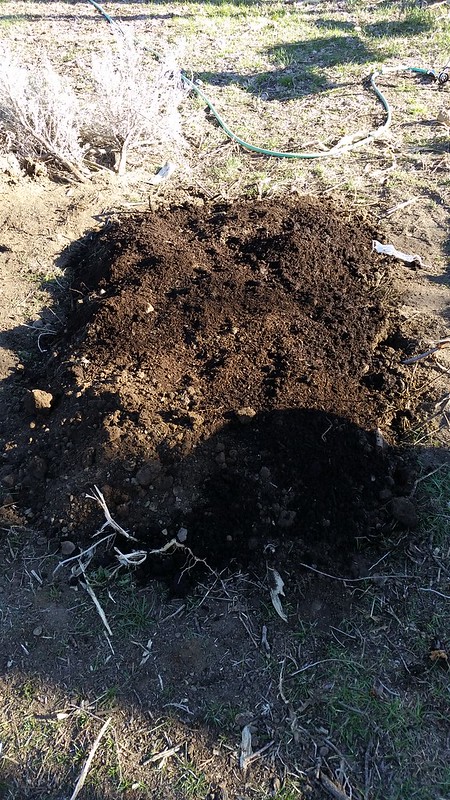 Step 8. Alternate layers of soil, composted steer manure, and finished compost (3"ish per layer) 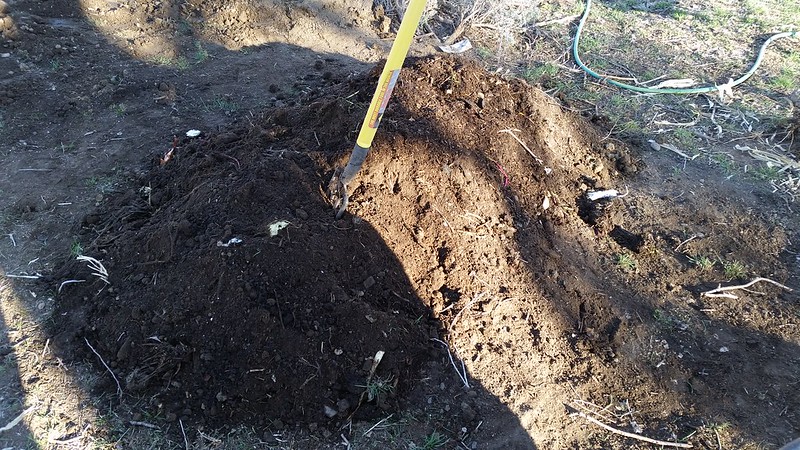 Then fork it all a bit to mix things up and keep air spaces down into the lower layers Step 9. Final layers of of finished compost (both steer manure and from the house), layered with the top soil I dug out of the hole. Finally I put some more active, hot, compost on top (should be just about finished in two months or so when I actually plant this bed).  Step 10. Almost done. Final step is to add drip tape for irrigation, followed by wood chips (the branches in the background will be chipped tomorrow). Then IRT 100 mulch to finish it off. I won't add the plastic mulch until just before I plant, for air exchange, and because I expect the pile to shrink and lower a bit over the next two months. 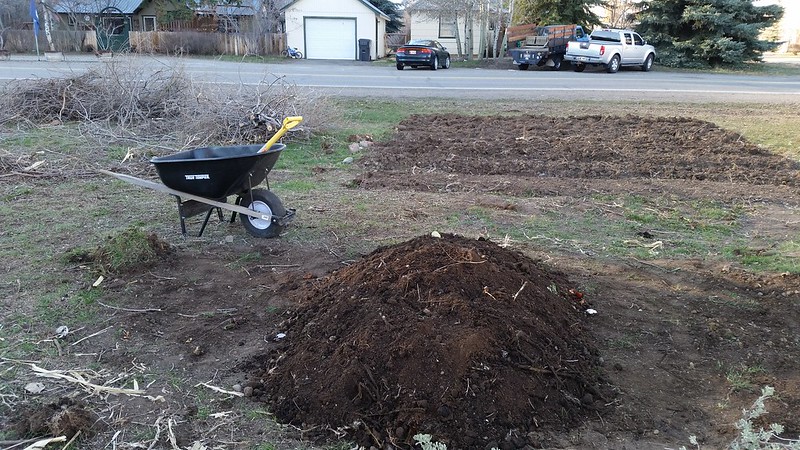 This is going to be home to two squash plants (Macre Giant and an elite-genes Atlantic Giant). One on each end of the bed. In the middle will be 4 stalks of corn (living trellis for beans). And some beans around the corn as nitrogen fixers. Kind of a three sisters planting on steroids. The theory around these beds is that they only get better with time as all the wood breaks down, so I'm excited to see how it all goes. Last edited by PaddyMc; April 4, 2016 at 05:23 PM. |
|
|

|
| Thread Tools | |
| Display Modes | |
|
|
