 February 27, 2018
|
#1
|
|
Tomatovillian™
Join Date: Jan 2018
Location: Philly 7A
Posts: 739
|
 Vertical Garden Build
I was hoping to build a 55 gallon drum composting vertical garden last year. I had so much going on with the hydroponics and Aquaponics and my regular gardening that I put it on hold, Well I have been researching this a ton this year hoping to build one.
One of the problems I am facing is, where the hell will I put it? I literally have no room. Well I figured since it wasn't a permanent structure I could always move it or empty it at the end of the season and store it on my back hill.
What I have found out during my research this year changed my mind on how to make this. Much of my research about the composting part, primarily the worms needed, (red Wigglers) scared me off. I won't go into the science, but what scared me off was the fact that they may not survive my Zone 7 and that the amount of composting they would do in that small of an area (4-6" pipe) is negligible, so it really didn't seem worth the extra effort. I'm gonna put the extra effort into a center wicking pipe.
For composting I'm gonna stick to what I know.
Anyhow I figured this would be a fun project for My son and I and I'll let him take care of it this season.
This design will be simple, a standard 55 gallon drum, top cut off with 40 slots for plants. Center pipe will be added and capped at the bottom with a few tiny holes in the pipe at each level and wrapped in pond underlayment for wicking. I will drill a few holes in the bottom of the barrel to allow for drainage.
When I got home and made my way past the swamp, (lotsa rain), I climbed up on the hill to pull out the 55 gallon drum earmarked for this project. When I was sorting through all of the junk on the hill I came across one of my 20 gallon drums that I use for storing pool supplies, hoses, fittings, hardware and such. Since I am getting rid of the pool I decided that this would be our first Tower Garden. The barrel is in bad shape it has a couple breaks in the side that I will need to work around.
Lets get started,
Garden Tower 1
- I cleaned and marked the barrel...mostly eyeballing it.
- Then I was wondering what to use to cut the slits. I figured a jig saw and then said nah, I don't want to drill starter holes, then I contemplated a circular saw, nope... I wanted to do this with my son and a trip to the ER was not sounding good. How about an angle grinder with a thin blade?...nah, probably melt too much when cutting due to the high rpms, Sawzall, nope ER. Biscuit joiner...nope. I got it I'll use my Fein Multimaster..check it out here. Pretty incredible tool.
- This is the blade I should have used, I used this on my 2nd tower after this blade broke at the welds.
- The slits are cut, I had Stephen cut one of the slits and since it's an oscillating blade it was pretty tough so I took over the cutting.
- Stephen manned the heat gun and I manned the beer bottles.
- You could really make this fun and start with full beer bottles!!!
- There we go, 24 slots, I decided not to put the 6 slots in the bottom, due to the taper and it being a little tight, we figured we could do 24 strawberries in the slots and 6 around the top for a total of 30 or 24 strawberries and 2-3 pepper plants, that's plenty.
Next up was paint... hmmm. what should we use, I really like the Krylon Fusion Terra Cotta Spray Paint... well guess what, it has been discontinued, like I was surprised.
I'll see what I got in the workshop and come up with something... maybe nutmeg will look nice.- I sanded the drum with a 220 grit and wiped down with vinegar.
- I had Stephen cut out some templates that I had printed out that I found online
- But he was too busy to help his dad and only cut a few of the butterflies out so I had to reuse several of them once the paint dried on one side.
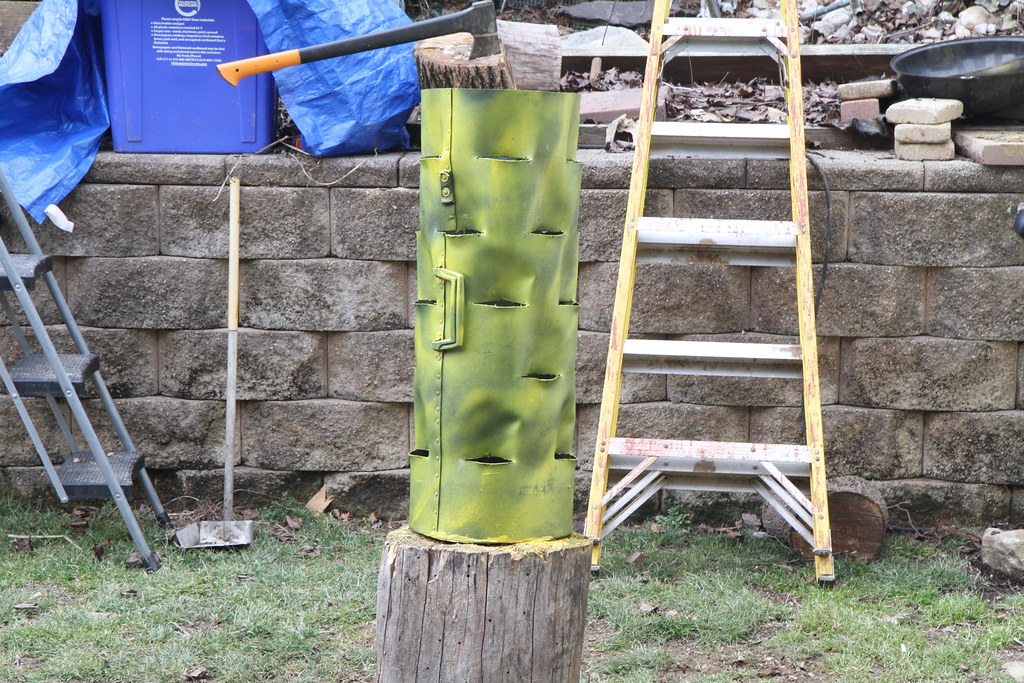
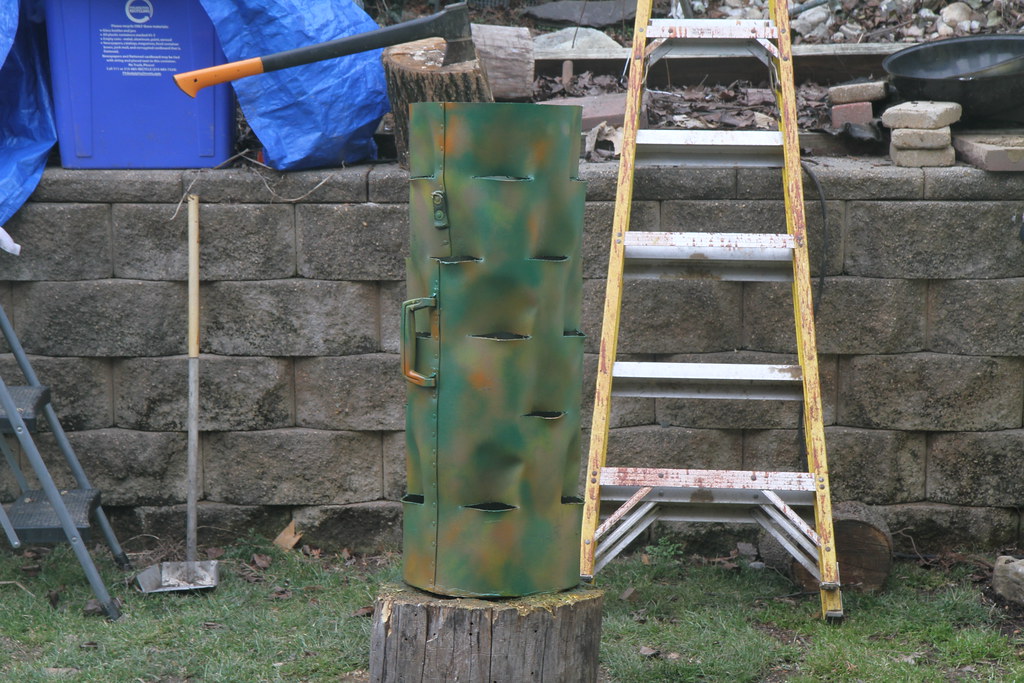
- The drum is then painted with a primer and then spot painted with various colors.
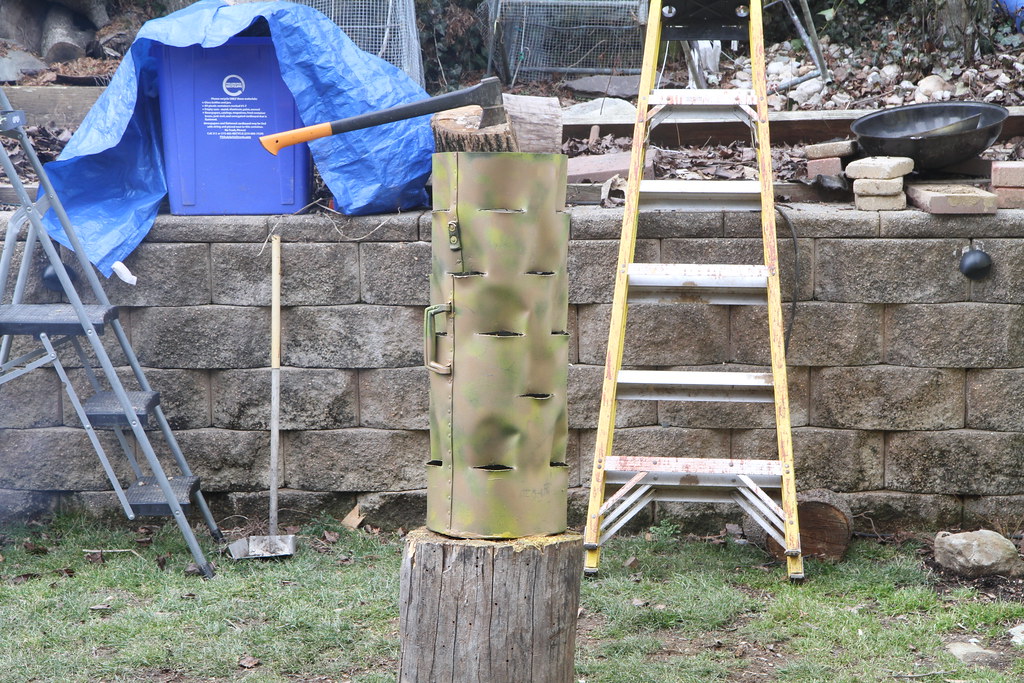
- The templates are tossed on and the entire barrel is painted with a nutmeg spray paint.
- I kinda like the barrel with all the different colors, I was undecided so I let my Daughter make the decision and she liked the nutmeg with the butterflies.
- Barrel is flipped and a few Holes were drilled in the bottom for drainage. As mentioned earlier I decided not to do the composting section but liked the idea of something in the center so I wouldn't need a whole lot of potting mix, What I did here was use a 4" piece of PVC, Capped the bottom and drilled 1/64" holes in it to slowly weep into the soil, I cheeped out on the cap and used a Mayo Lid, I wasn't about to spend $7.00 on a cap.
- I finished working on the wicking tube for the 20 gallon, this tube holds about 1.5 gallons. A few 1/16" holes are drilled in the tube, then its wrapped with Pond Underlayment and secure with polyester twine. Not pretty but you wont see it.
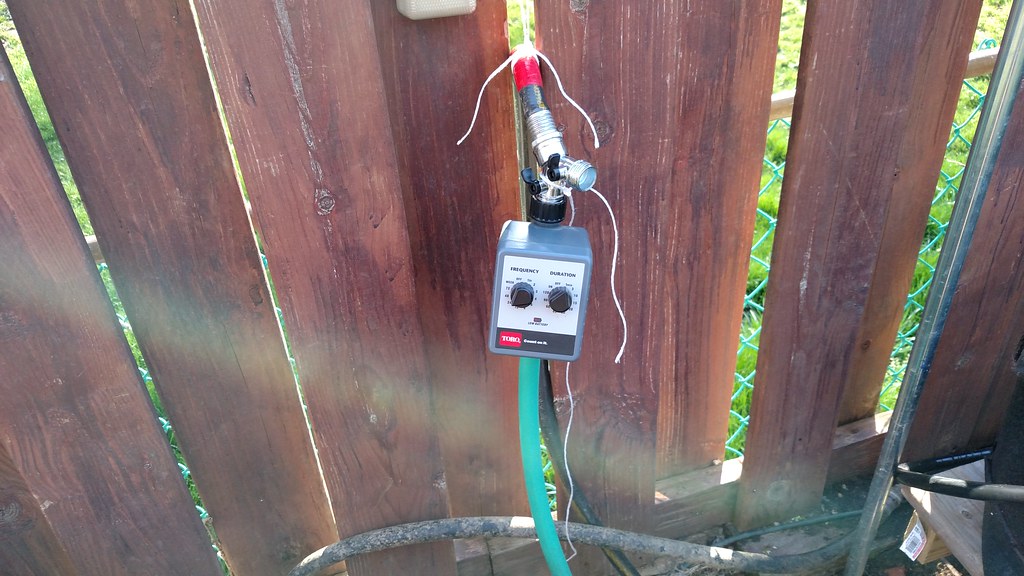
- I decided to use this Toro water timer and connect it to the 55 gallon tank that was intended for the Self Watering Air Pruning system. A 5 foot hose runs from the timer down into the wicking tube. As of now it cycles every 24 hours for one minute, I have the Timer hooked into a "Y" so I can throttle the flow back a bit or increase as needed as the lowest setting is one minute. I timed it so that the self wicking tube will fill up and overflow for about 10 seconds then kick off. I am sure this will change with head pressure as the water drops in the barrel and weather conditions.

Garden Tower 2
- I decided to make another vertical garden for herbs, I didn't want to hack up my other 20 gallon barrel for two reasons, one is that I use it for my fish tanks and when working on my pond, the other reason is if I'm not happy with the results, I wasted a good holding tank. This will not have a wicking tube and I will see how often it needs watering before I make it a self watering garden.
- The bottom was worn through so I glued with some landscape adhesive.
- Then it was time to paint.


|

|

|


