
|
Share your favorite photos with us here. Instructions on how to post them can be found in the first post within.
|
 |
|
|
Thread Tools | Display Modes |
|
|
#16 | |
|
Tomatovillian™
Join Date: Jan 2018
Location: Philly 7A
Posts: 739
|
Quote:
Sure. If you do this make sure to use cotton for the cheese, I made the mistake of using nylon, and had a problem with the cheese not drying enough the 2nd hang, well at least that's what I think the problem was. Dream Cheese This is my first time ever making cheese. This can be made with Whole Milk yogurt, Clabbered milk or Kefir. If you use store bought yogurt be sure to use ONLY plain yogurt that has no thickening agents (such as pectin, gelatin or any gums) just Milk and Live cultures only as it will not properly drain and preferably Whole Milk.
Here is where it got off track a bit, After the 2nd hang of 24 hours the cheese was still a cream cheese consistency, I believe it was because of using a nylon bag, my only recourse was to grab an old cotton T-shirt, boil it in water, dry thoroughly and moisten with a little whey and hang the cheese another 24 hours in the cotton T. Well it worked out pretty well. I think the second hanging is fairly dry and the cotton absorbs the excess moisture as opposed to a nylon.
|
|
|
|

|
|
|
#17 |
|
Tomatovillian™
Join Date: Jul 2013
Location: MA
Posts: 903
|
Thanks, I thought I recognized it. The first step is what Lebanese call "labne". The extended drying and addition of spices and herbs turn it into "shankleesh." Tasty stuff, we eat it with pita bread.
|
|
|

|
|
|
#18 |
|
Tomatovillian™
Join Date: Jan 2018
Location: España
Posts: 453
|
SQWIBB. its publications is a work of art. Thank you
|
|
|

|
|
|
#19 |
|
Tomatovillian™
Join Date: Jan 2014
Location: Near Philadelphia, PA
Posts: 1,940
|
Looks great!
|
|
|

|
|
|
#20 |
|
Tomatovillian™
Join Date: Jan 2018
Location: Philly 7A
Posts: 739
|
Thank you guys.
|
|
|

|
|
|
#21 |
|
Tomatovillian™
Join Date: Jan 2018
Location: Philly 7A
Posts: 739
|
March 9th, pm 2020 The weather was really nice so I stopped at Home depot and picked up some peat moss, Black Kow, 10-10-10 and some marigold seeds. UI started work on the ponds, redoing the electrical cords and turning on the pumps, I have a bad pump that needs replacing. Sprinkled a tiny bit of 10-10-10 around the shrubs, trees and flowers.
    March 10th, pm 2020 March 11th, 2020 Ran out during work and picked up some Black Kow and Pine Bark Fines from lowes for my Grow Bags and Planters. After work, I installed the new pond pump and fixed the LED tape lights, have you ever tried to solder LED tape Lights, what a nightmare. Planted a couple of my Bok Choy "Cut and Regrow" plants, a Purple Bok Choy, and a few Shanghai Bok Choy in the Koi Pond planter. Planted some Waltham Broccoli in the new "Root Bed", this bed was originally built for Radish and Beets, I have had no luck with Beets. Sowed some Scarlet Runner Beans and De grace Snow Peas along the trellis in the Hugelkultur beds. Dumped the rest of my Aji Pineapple seeds into the seed trays, germination rate has been horrible. I also found some old Datil Seeds from 2016 or 2017 that I am trying to grow out for seeds. I had extremely poor germination rate on my old (2017) Marigold seeds but pulled a dead plant from the hill and planted those seeds last week and had quite a few sprout.
March 12th, 2020 |
|
|

|
|
|
#22 |
|
Tomatovillian™
Join Date: Jan 2018
Location: Philly 7A
Posts: 739
|
March 19th, 2020 Gave up on my Citrus trees and put them outside. Still harvesting a good bit of lettuce. Had some issues with the Koi Pond leaking, after several days I found the leak in the lower veggie filter, so I had to drain it a bit and let it dry out then cleaned it up and reapplied some silicone. I decided to completely redo the two veggie filters. I changed the upper veggie filter to an up-flow, similar to the lower veggie filter, I will be adding some Bio-Balls and MORE Matala filter pads in an effort to increase biological filtration. I'm having issues with my hose that feeds the irrigation, I can hear the water running when the hose is charged and the irrigation is off, there must be a leak somewhere in the hose. The hose is buried underground and inspecting it would be impossible. I have an above ground line that I will be using. Working on my Back Pond pump/filters for easier access to cleaning. I installed a cleanout hose to each of the filters with a "Y" adapter, this will be used to clean the filters and the waste will be used in the gardens. Planted 20 Chandler strawberry plants on the 18th and Romaine and Butternut Crunch Lettuce on the 14th but forgot about the seeds being in the bed when I was working on the pond and was dumping 5 gallon buckets of water right on top of them, oops!  |
|
|

|
|
|
#23 |
|
Tomatovillian™
Join Date: Jan 2018
Location: Philly 7A
Posts: 739
|
|
|
|

|
|
|
#24 |
|
Tomatovillian™
Join Date: Jan 2018
Location: Philly 7A
Posts: 739
|
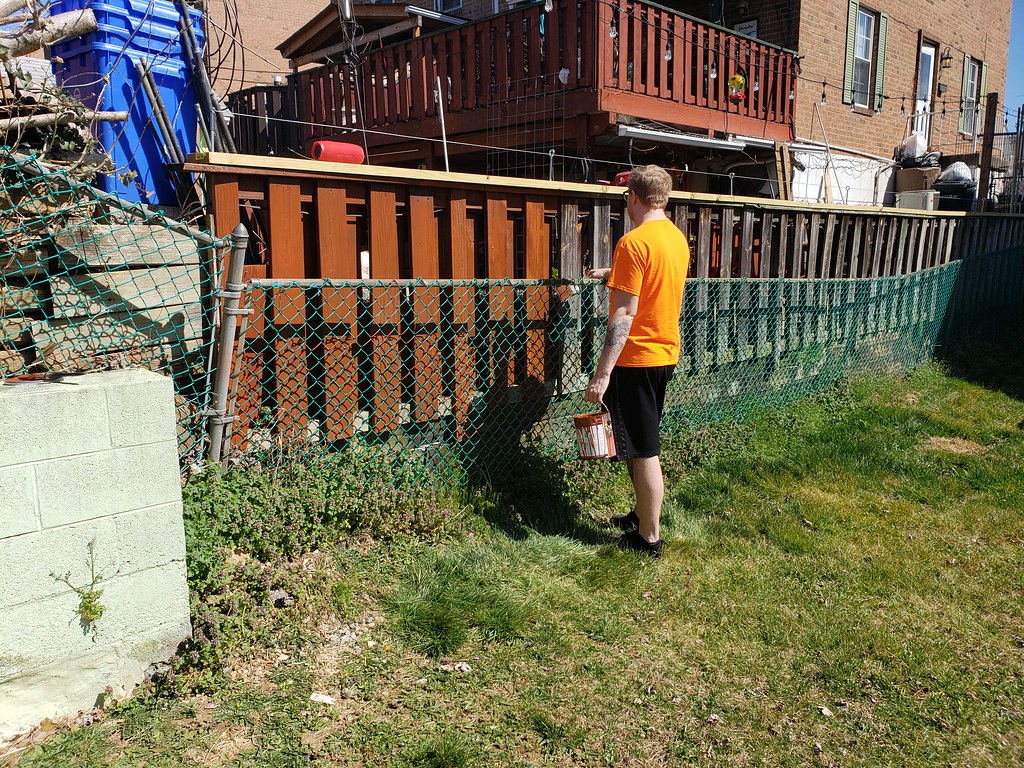
March 24th, 2020 I got some work done on the back hill laying pavers cleaning up and staining the retaining wall. I installed a new pressure regulator on the feed line to the beds, I went with a slightly higher PSI regulator. Swapped out the hose as the other hose is leaking. I fertilized the potted plants with the following mix, just eyeballed the mix, oops forgot Epsom salts, I'll add that next time I fertilize.
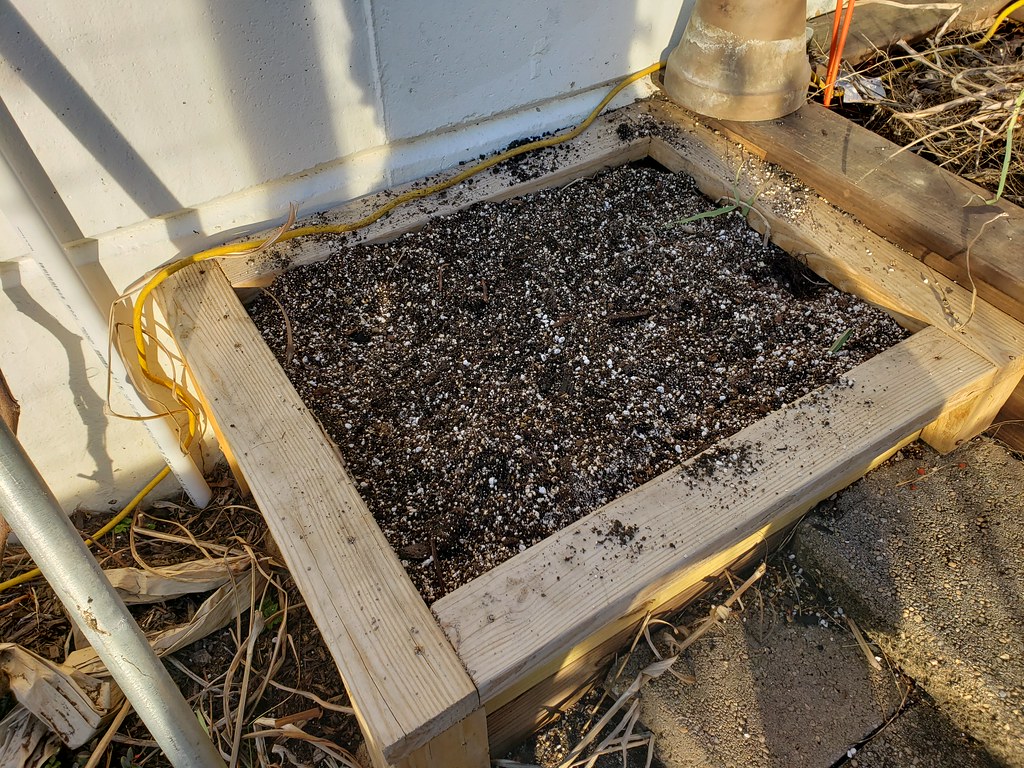
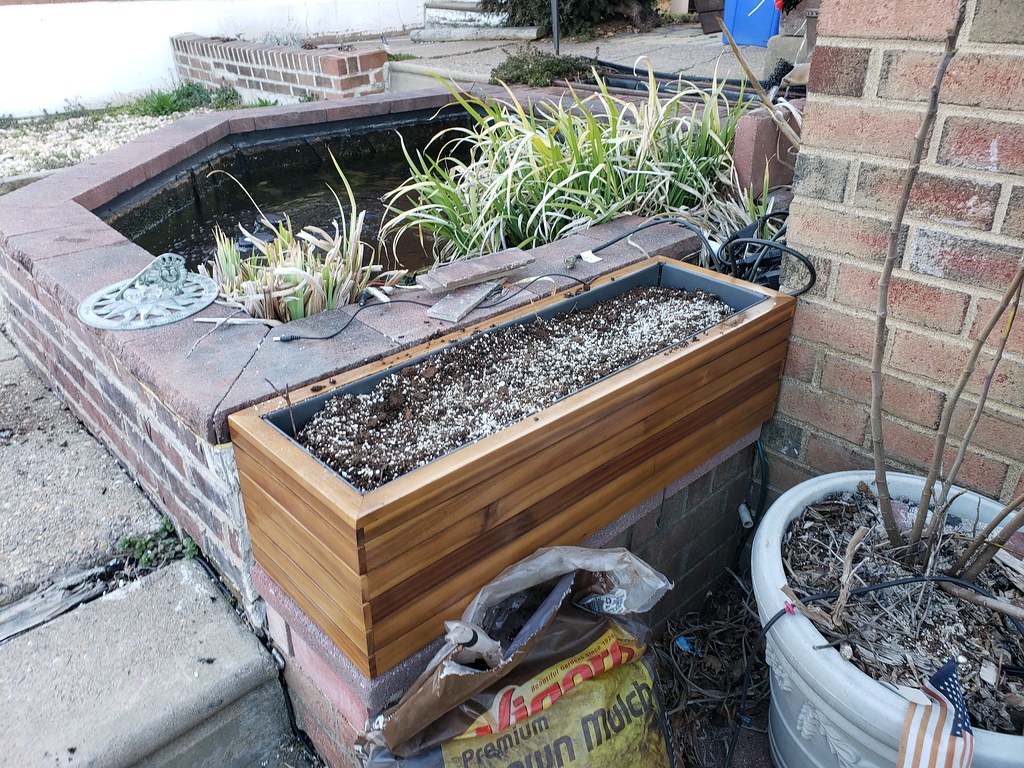
Mixed up some potting mix for the Aquaponics Small Veggie filter.
Recipe for the pie on my Reaping The benefits page here. Still working on the ponds as well.

      After I had the large veggie filter squared away, I done a 20% water change to the main pond and fertilized the pond plants (Lilies) with some Jobes spikes, I don't add fertilizer to the Irises.


|
|
|

|
|
|
#25 |
|
Tomatovillian™
Join Date: Jan 2018
Location: Philly 7A
Posts: 739
|
|
|
|

|
 |
|
|
